

How to create overlapping sections in Squarespace Fluid Engine
Overlapping sections are clever illusions and super fun graphic elements that you can add to any Squarespace 7.1 Fluid Engine site.
We’ve been using them for years in our Squarespace templates, and now, they’re easier than ever!! Rather than creating custom background graphics in external graphic design softwares like Canva or Photoshop, you can now create the same effect, internally, using Squarespace’s latest block addition: The Shape Block.
This versatile block essentially allows us to create a bridge between two sections, making them look like they are overlapping while keeping the two sections and their settings entirely separate!


Ready to give your website a gorgeous new overlapping feature? Let's dive in and show you how to create your own!

Sections in Squarespace 7.1
Every Squarespace 7.1 page is made up of different Sections. These essential building blocks are typically stacked on top of one another to create a full page:

To add a new Section, simply hover over your page and click Add Section.

The pop up will prompt you to either choose one of Squarespace's pre-made layouts or to add a blank Section to create your own.

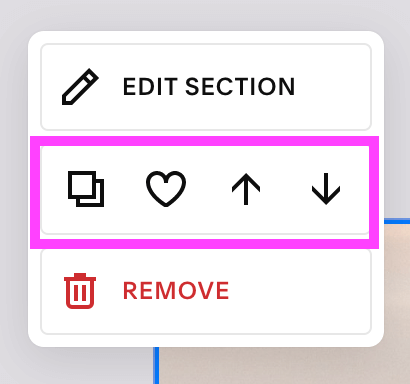
Once your new Section has been added, you can adjust the Section Settings by clicking Edit Section in the top-right corner.

Here, you will be able to adjust Settings like your Row Count, Grid Spacing, and Padding.

Make sure to toggle off Fill Screen so that your Grid is flush all the way to the edge of your Section.

Why use multiple sections rather than one long section?
While you could technically build your entire website page in just one Section, the general advice is to use multiple Sections. Not only does this make your site a whole lot less glitchy while you're editing, breaking up your site into smaller chunks is a lot more manageable and allows you to reorder Sections in one click across your site, as well as duplicate them, or save them to reuse for later!
Having multiple sections also means that each Section can use a different colour theme which you can access in the Colors tab of your Section Settings.

For more best practice tips for Squarespace 7.1 Fluid Engine check out this post!

How to create an overlapping section?
Step 1: Add a section
Hover over your page, click Add Section, and choose a layout or blank section to add to your site.

Step 2: Add a Shape Block
Hover over your section and click Add Block in the top left corner.

Then select the Shape Block.

Use the corner markers to position the Shape Block across the entire top or bottom of your Section.

And send it behind any other elements you may already have in your Section.

Now click Edit to adjust your Shape Block's settings.

Particularly, you'll want to adjust the colour of your Shape Block to match the Section above or below it.

You'll be able to select from your pre-existing colour palette set up in your Design > Site Styles.
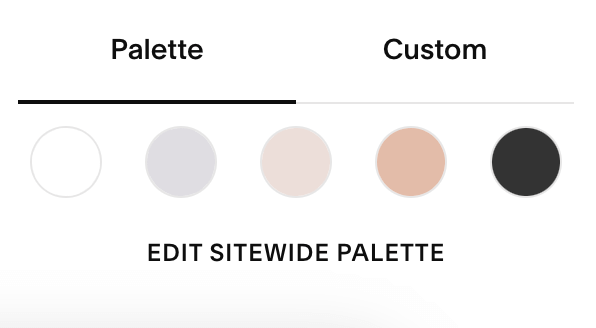
Or, select a totally customised colour.

Once your Shape Block is coloured to match, the overlapping effect becomes clear and the two sections blend into each other for a designer-worthy, yet super easy, feature ✨

Now what you can do is get creative! You can add any other custom elements to your overlapping section, including transparent background graphic elements, additional images, or even more shape blocks to create all kinds of fun layouts!

The possibilities are endless and we can't wait to see what you create!
Want more Squarespace tips? Check out the posts below 👇
How to add Google, Airbnb, and Facebook reviews to your Squarespace site
How to add a background color to a text block in Squarespace
How to add Parallax in Squarespace 7.1 (and other fun background animations!)
How to edit your button design in Squarespace 7.1
How to create a Transparent Header Navigation in Squarespace (7.1 and Brine)
If you liked this post, Pin it to Pinterest! 👇🏻
