

How to add a photo slideshow header to your Squarespace 7.1 site
Full-width header images are a great way to showcase your style, whether you’re a photographer, designer, or other kind of creative, you want your visitors to know what you’re all about as soon as they land on your website.
First impressions really count! If they like what they see, their interest will be peaked right away, meaning they’ll be more likely to engage with your content, explore your galleries, and reach out for a possible collab 💸
But sometimes, one image just isn’t quite enough to really showcase all the fabulous things you’re capable of, and this is where a header slideshow might just be the perfect solution!
No more existential crisis every time you have to pick just one image to convey what your business is about. A slideshow lets you pick your faves and is especially helpful if you dabble in a few different artforms or styles 👩🎨
As a sleek header slideshow isn’t a built-in option in Squarespace, we’ve put together a little custom CSS and a helpful tutorial to help you get your visitors falling in love with your work at first sight! 💜

Step 1: Add a gallery section
Click EDIT on your Home page.

Hover just below your Header and click Add Section.

In the pop up, scroll down the left hand-side list and click on Images. This will pull up Squarespace's pre-built Gallery sections.

Since you'll be able to adjust your Gallery's look in the Section Settings, you can really select any Gallery design, but we are all about time-saving tips, so it's always best to start with something that already looks like the style you're trying to achieve!
Here, we've selected a full-width gallery style like this one:

Step 2: Edit your gallery
Once your Gallery section has been added, click EDIT GALLERY.

In the pop up, click + to add your Images of choice.
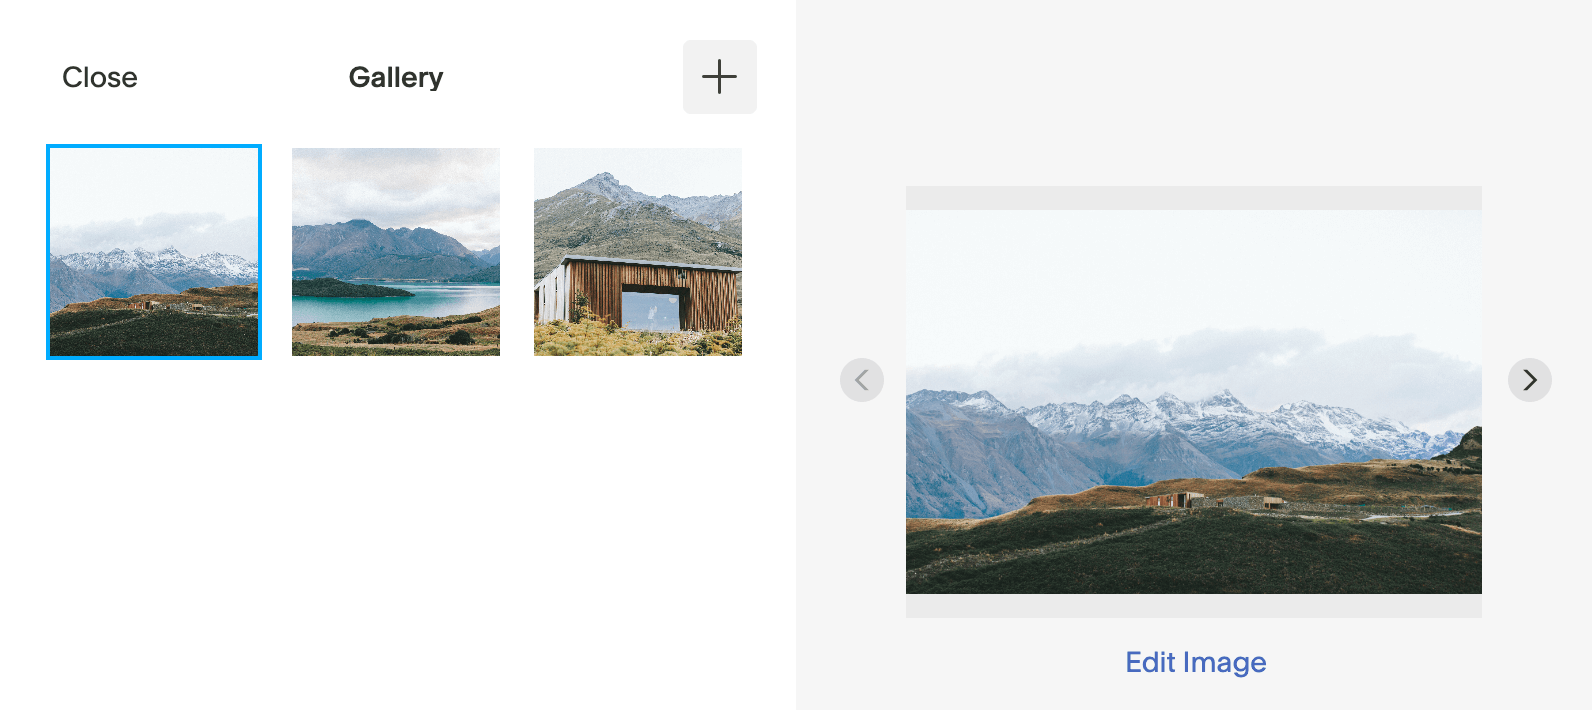
You'll be able to upload a new image or search for images that you have previously uploaded to your site (get our tips for managing your Squarespace Media Library here!).

Here, you'll also be able to adjust your Image Focal Points by clicking and dragging the white circle on your images. This is especially important to make sure your images look good when automatically cropped for Mobile (to learn more about Focal Points, check out this post!).
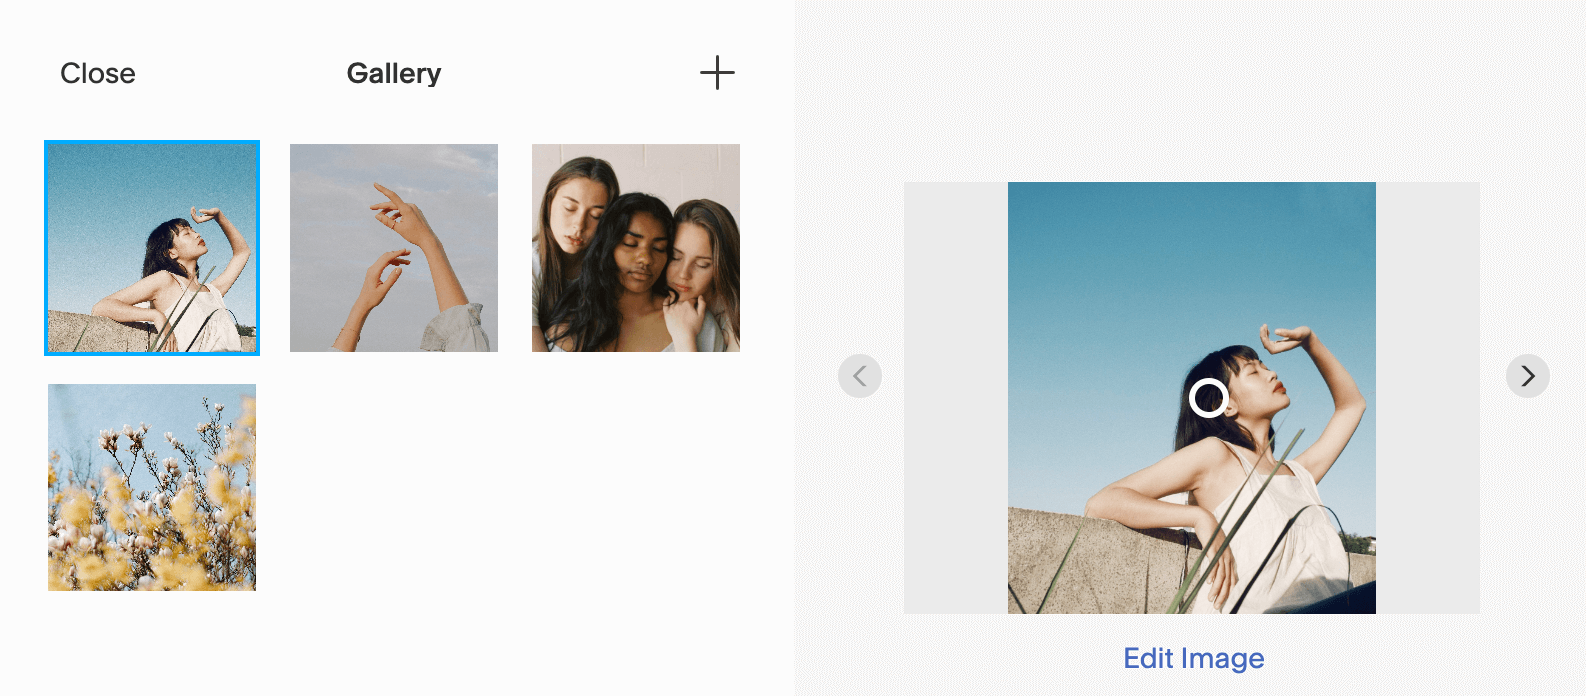
Once you've added all your best work to the Gallery, click Close in the top left corner to return to your Home page.
To check what your Gallery slideshow looks like on Mobile, click the Mobile icon in the top right of the page and make any adjustments to your Focal Points if needed.

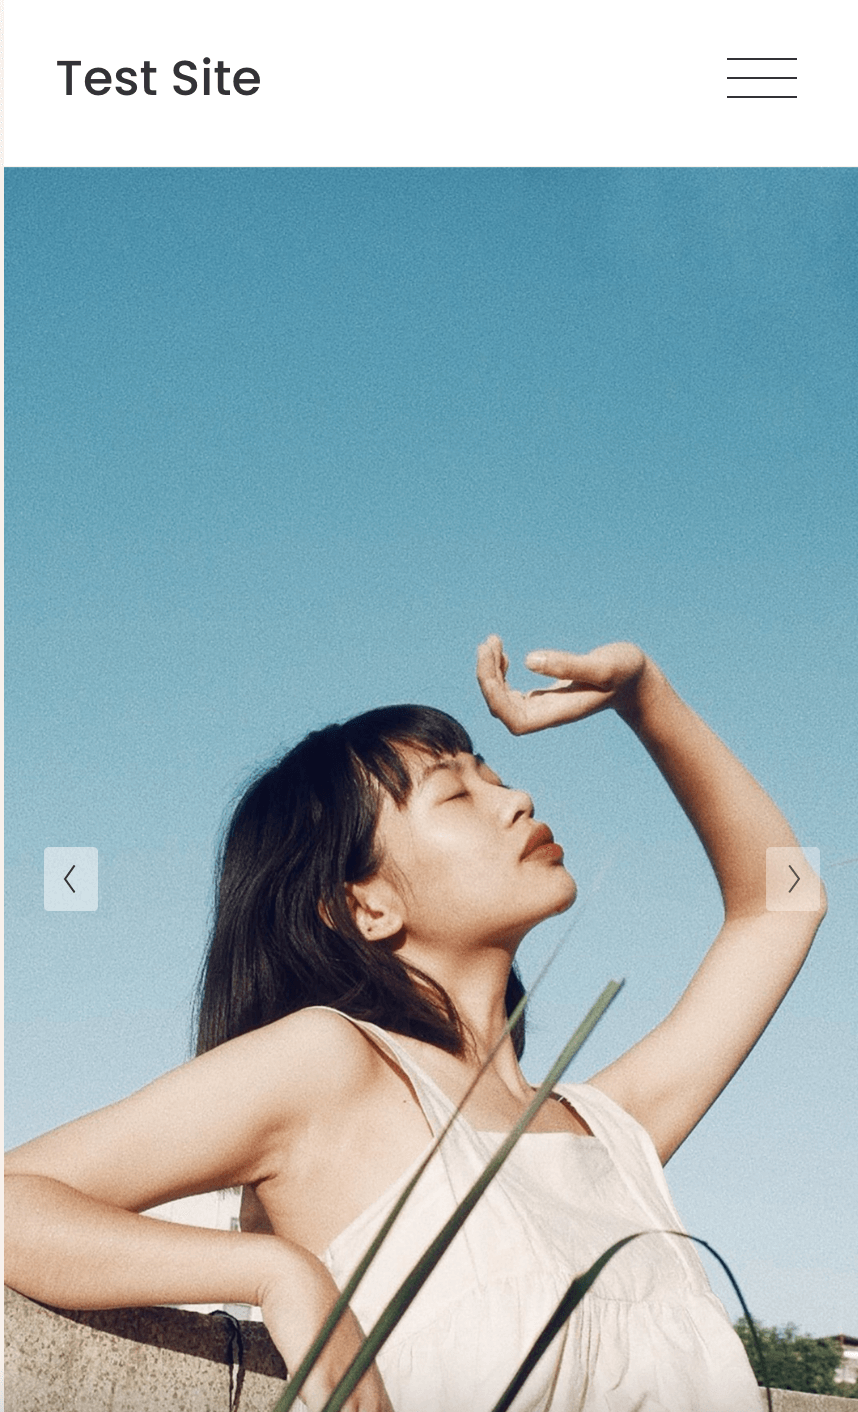
Don't worry, we'll show you how to get rid of that pesky color block navigation in just a couple of steps 😉

Step 3: Adjust your gallery settings
Hover over your Gallery section and click EDIT SECTION.

If you chose a different Gallery style before, you'll want to make sure your Gallery Type is set to Slideshow: Full


Make sure the Width is set to Full Bleed, meaning your slideshow will span across the entire page.

We recommend setting the Height to Large (L) so that your slideshow spans the entire website viewport, though this is totally up to you!

Next, you'll be able to choose whether you want to display Controls like Arrows so that your visitors can scroll through your slideshow themselves.
You'll also be able to select whether you want your slideshow to Autoplay, and how long you would like each slide to display for.

Once you're happy with your Settings, click out, and make sure to click Save in the top left corner!
Step 4: Add custom CSS
Now comes the fun part ✨
Go to Design > Custom CSS and copy + paste this little piece of code to make your brand new header slideshow appear behind your navigation. Pesky colour block be gone! 🪄


// SLIDESHOW GALLERY BEHIND HEADER NAV //
.page-section.gallery-section{padding-top:0px!important;}
Click Save in the top left and voila! Your header navigation now blends in seamlessly, making your slideshow the true hero of the page!

Step 6: Customise your header navigation
Play around with your header navigation settings by hovering over your header and clicking EDIT SITE HEADER.

Here, you'll be able to change what elements you display on your header (like social links or a button), your header style, as well as your header layout for desktop and mobile.

For our 10 favourite header navigation customisations, check out this post!
If you're looking for a site that's optimised to showcase your work in the best light, check out our Squarespace Templates for photographers! 📸


If you liked this post, Pin it to Pinterest! 👇🏻
