

How to create a ‘featured post’ slider in Squarespace 7.1 & 7.0
One of our most popular requests is a tutorial for how to create our “browse our popular blog posts” slider.
A slider section on your blog allows you to put your most popular content at the forefront of your audience’s attention and it’s so simple to do!
On our new Big Cat Creative site, we've done this by utilizing Squarespace’s LIST Section and then adding a few lines of CSS to customize it to our personal preference. But, you can also do this automatically with a SUMMARY Block.
The LIST Sections only work on Squarespace 7.1, but you could use the SUMMARY Block on either version of Squarespace (7.0 or 7.1).
Not entirely sure which version of Squarespace you're using? Read this post.
This blog post will walk you through the two different methods, so let’s get started!
Creating a “Featured Posts” slider with a List Section
Adding a List Section to your Squarespace Blog
Navigate to your blog in Squarespace
Click Add a Section where you’d like to input your blog post slider

In the template navigation that pops up, select Services

Scroll down until you see a LIST Section (Tip! Hover over the little 'i' information symbol to see if it's a List or Gallery section)

Modifying your List Section so that it works as a slider
Hover your mouse in the new section and click Edit Content in the top right corner to bring up your content settings

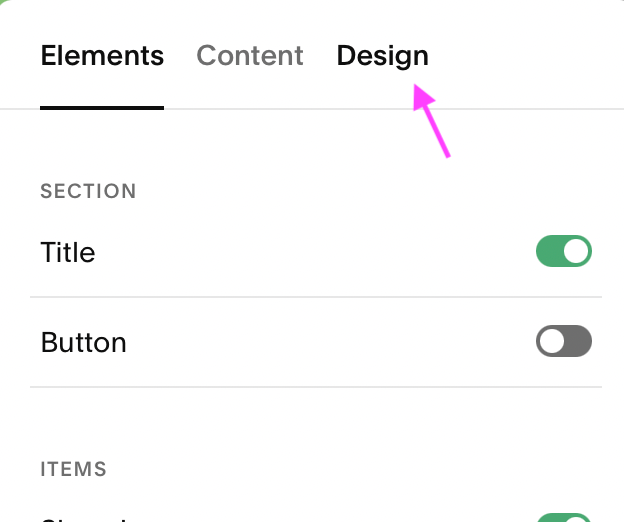
Click Design in the tabs at the top of the menu
From the Design drop-down menu, set your list to display as a Carousel

Keeping the content menu open, adjust your Max Columns (I’ve kept it at 3 but you can experiment as you see fit!)

Adjust your Image Crop accordingly (I’ve kept it at 3:2)
Click Elements in the tab at the top of the menu

Uploading your content
For Big Cat Creative’s popular blog posts slider, I've manually chosen five content pieces to highlight.
Note: The blog content is added manually, it's not automatically pulled from your Blog.
You have the option to feature specific blog posts that you think will resonate most with your audience, or you can take a peek in Squarespace Analytics to determine your most engaging site content. Once you’ve chosen the content that you want to highlight, here’s how to upload it into the slider.
In the content menu, click Content in the tabs at the top of the menu

Click Title to edit the section heading
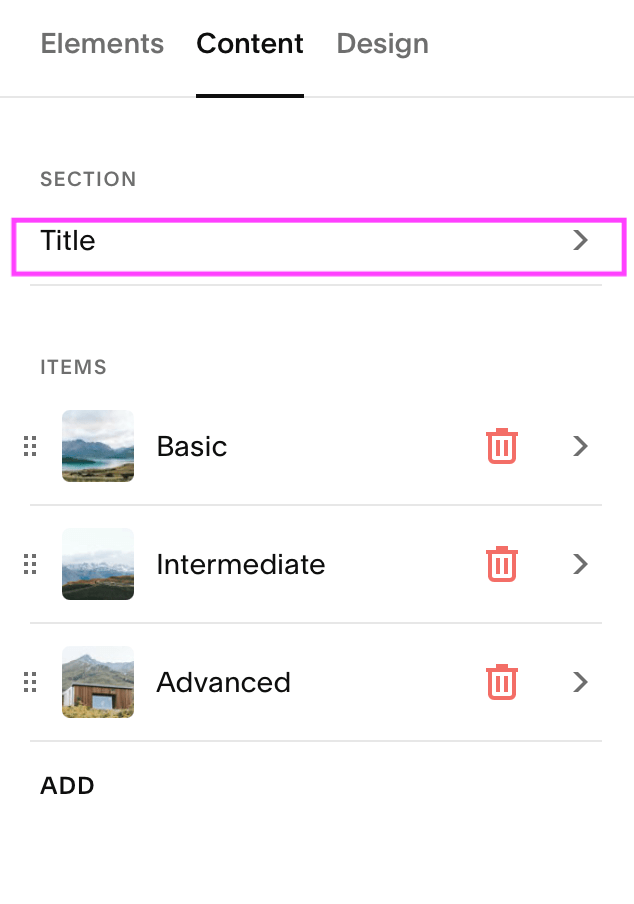
Edit the Title as you see fit and click Back to save

Under Items, you’ll upload your content details

Click into the first item and replace the Image with the thumbnail for your first blog post

Edit the Title with your blog post’s title

Under Description, put a description of your post.
Or, if you would rather have a text link than a button link, you can insert a clickable text link that will lead to your blog post.
I’ve chosen the text “READ IT →”

Highlight the text and click the link icon that appears. Input the blog post’s link and click Apply save the link

If you prefer to use a button to link to your blog post, update the button text with your call-to-action and then add the link to your blog post in the box below.

Click Back in the top left corner of the content box to save and go back.
Repeat this process and upload all your featured popular blog posts!
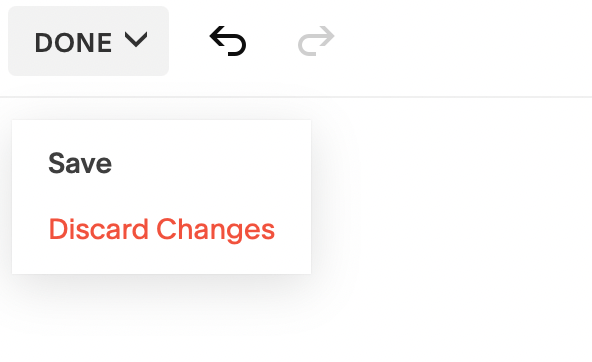
Once all the content has been uploaded, Click DONE > Save in the top left corner.
Adjusting slider details
One of the best things about Squarespace is that it makes cosmetic adjustments really easy. In the Content menu, you can make specific tweaks to your design so that it aligns with the vision that you’re looking for.
Feel free to tinker with these details in the Content menu under Design > Style or Design > Size & Space.

If you have some familiarity with coding, you can also add custom CSS to adjust your slider as you see fit. We've added code that repositions the arrows and manipulates movement for specific slider items.
So, that's it! How we added a “popular post” slider via a LIST Section to our Blog page. Below, we’ll discuss the alternative method of using a summary block.

Creating A “Popular Blog Posts” Slider with a Summary Block
Using a SUMMARY Block is an easy way to showcase additional blog posts without needing to manually upload new images, text, and links to your Squarespace page.
This block is available in Squarespace 7.0 and 7.1, and it can be put anywhere around your site, so it's super versatile!
Here’s how to do it!
Navigate to the section that you’d like to put your slider in
7.1: Click Add Block in the top left corner of the section
7.0: Click the blue + icon to add a block

Select the block that says Summary

Click the Summary Block and then click the pencil icon in the top left corner. This will open up the content and design menu for your block.

Click into the Content tab at the top of the menu

Select the blog that you want to highlight posts from

Click back into the Content tab at the top of the menu
From here, you can choose wither to hide/show your Primary and Secondary metadata (for example date, author, etc.)
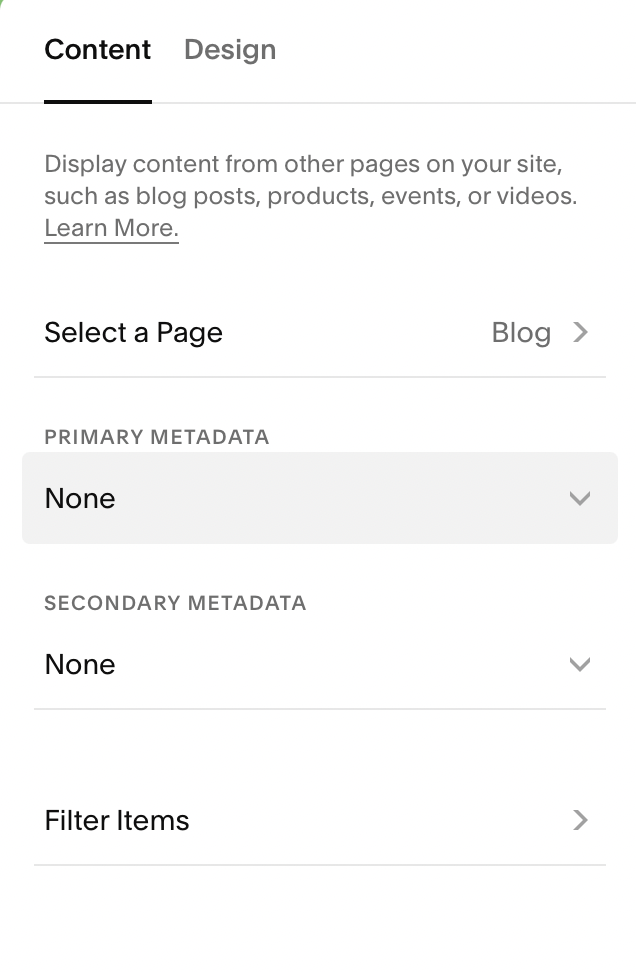
Now, you can either leave the Summary Block to pull from your entire Blog or you can separate out specific popular posts according to categories, tags or featured posts.
Click Filter Items and select Category, Tags or Featured, depending on what you want to showcase

Tip! Not sure how to set up Categories or Tags on your Blog Posts? Check out this Squarespace Blogging guide!
Click back to save
In the Design tab, click the layout drop-down and choose from the four options given. For a slider effect, select Carousel

Adjust the Number of Items, Items per Row, Aspect Ratio, and Text (size & alignment) as you see fit

Scroll down in the Design menu and delete anything in the Header Text section (we’ll add a separate text header afterwards)
Toggle the settings as you see fit. We’ve kept Title, Featured Image, and Read More link on

And there you have it, a complete tutorial on how to create a “featured posts” slider either with a LIST Section or a SUMMARY Block.
For more information on how to edit your blog post’s categories and tags, check out our in-depth guide to blogging and let us know if you have any additional questions or requests on this topic!
If you liked this post, Pin it to Pinterest! 👇🏻
