How to add a chatbox to your Squarespace site for FREE (2022 Facebook Messenger update!)
Are you looking for a way to connect with your customers? Live chat boxes are a great option because they allow your website visitors to ask questions to you in real-time to help them make purchase decisions faster and easier!
There are a handful of third-party plugins that you can use for this, but in our opinion, Facebook Messenger is probably your best bet. It’s not only free, but also super easy to set up in Squarespace. Plus, you’re probably already on Facebook for your business (and your customers are too) so it’s an easy way to attend to customers in real-time without having to log in to another platform.
So, you will need a Facebook Business account before we get started, if you don't have one yet, you can sign up here. If you don't want to use Facebook, there are other options out there for adding a chatbox to your Squarespace site, but it will probably cost you a monthly fee.
You will also need a Squarespace Business plan, as we will need to copy and paste over some code from Facebook to your Squarespace site (don't worry, it's easy!) which requires the Business plan or up.
Facebook recently updated where to access this chat so our older post was made redundant, so we've updated our post for the correct November 2022 instructions!
Ready to try this out? Let’s get started!
Set up your Facebook Messenger Chatbox
The first part we’ll need to tackle is setting up the Messenger feature on Facebook so we can generate the custom code for Squarespace.
Head over to Facebook and check to make sure you're logged in to your business's Facebook page. Click this link to be directed right to your Facebook Page's Meta Business Suite INBOX (this is where you can easily manage all of your Facebook and Instagram comments and DMs, btw!)
In the Meta Business Suite Inbox window, click the Gear icon in the top right corner.
Click on the View all settings button in the Inbox Modes drop-down menu that appears.
Next, you’ll want to click Chat Plugin from the navigation menu on the left.
First, let’s set up the Website domain (previously known as whitelisted domains). This is where you’ll want to enter the domain of the website you would like the Facebook Chat Plugin to appear.
Click the pencil icon to edit the Website domain.
In the pop-up window, add the full website domain for the website you would like the Chat Plugin to appear. Press Save once you’re done.
Optional: In addition to your business’ domain, you can also add your built-in Squarespace domain. This will allow the chat plugin to appear on the backend of your site, in addition to your live website. This can be helpful if you’re trying to debug the live chat or see the functionality in edit mode. You can find your built-in Squarespace domain by logging into your Squarespace website and copying the domain that appears in the address bar (delete anything that comes after “.com/”) You can also find this in Squarespace under Settings > Domains.
Now we're ready to customize the Facebook Chat Plugin!
Set up your chat Automations
The next step is to set up any Automations. Automations are the messages your website visitors will see if they interact with your website's chatbox.
First things first, click the arrow next to the Automations section to open the options.
The options for chatbox automations include:
Away Hours: Sync your chatbox with your inbox schedule. If you have set working hours, people who try to contact you outside of them will see that you're currently away. This can be turned on or off depending on your preference!
Greeting: Type in a custom message that will greet your site visitors before they send a message.
Welcome Message: A custom message that starts the conversation with your website visitor.
Frequently Asked Questions (FAQs): Add frequently asked questions so an automated response can go out to customers without having to manage it every single time.
Customize your Chat Plugin
Now comes the fun part of customizing the appearance of your Chat Plugin!
Click the arrow next to the Customize your Chat Plugin section to toggle open the options available.
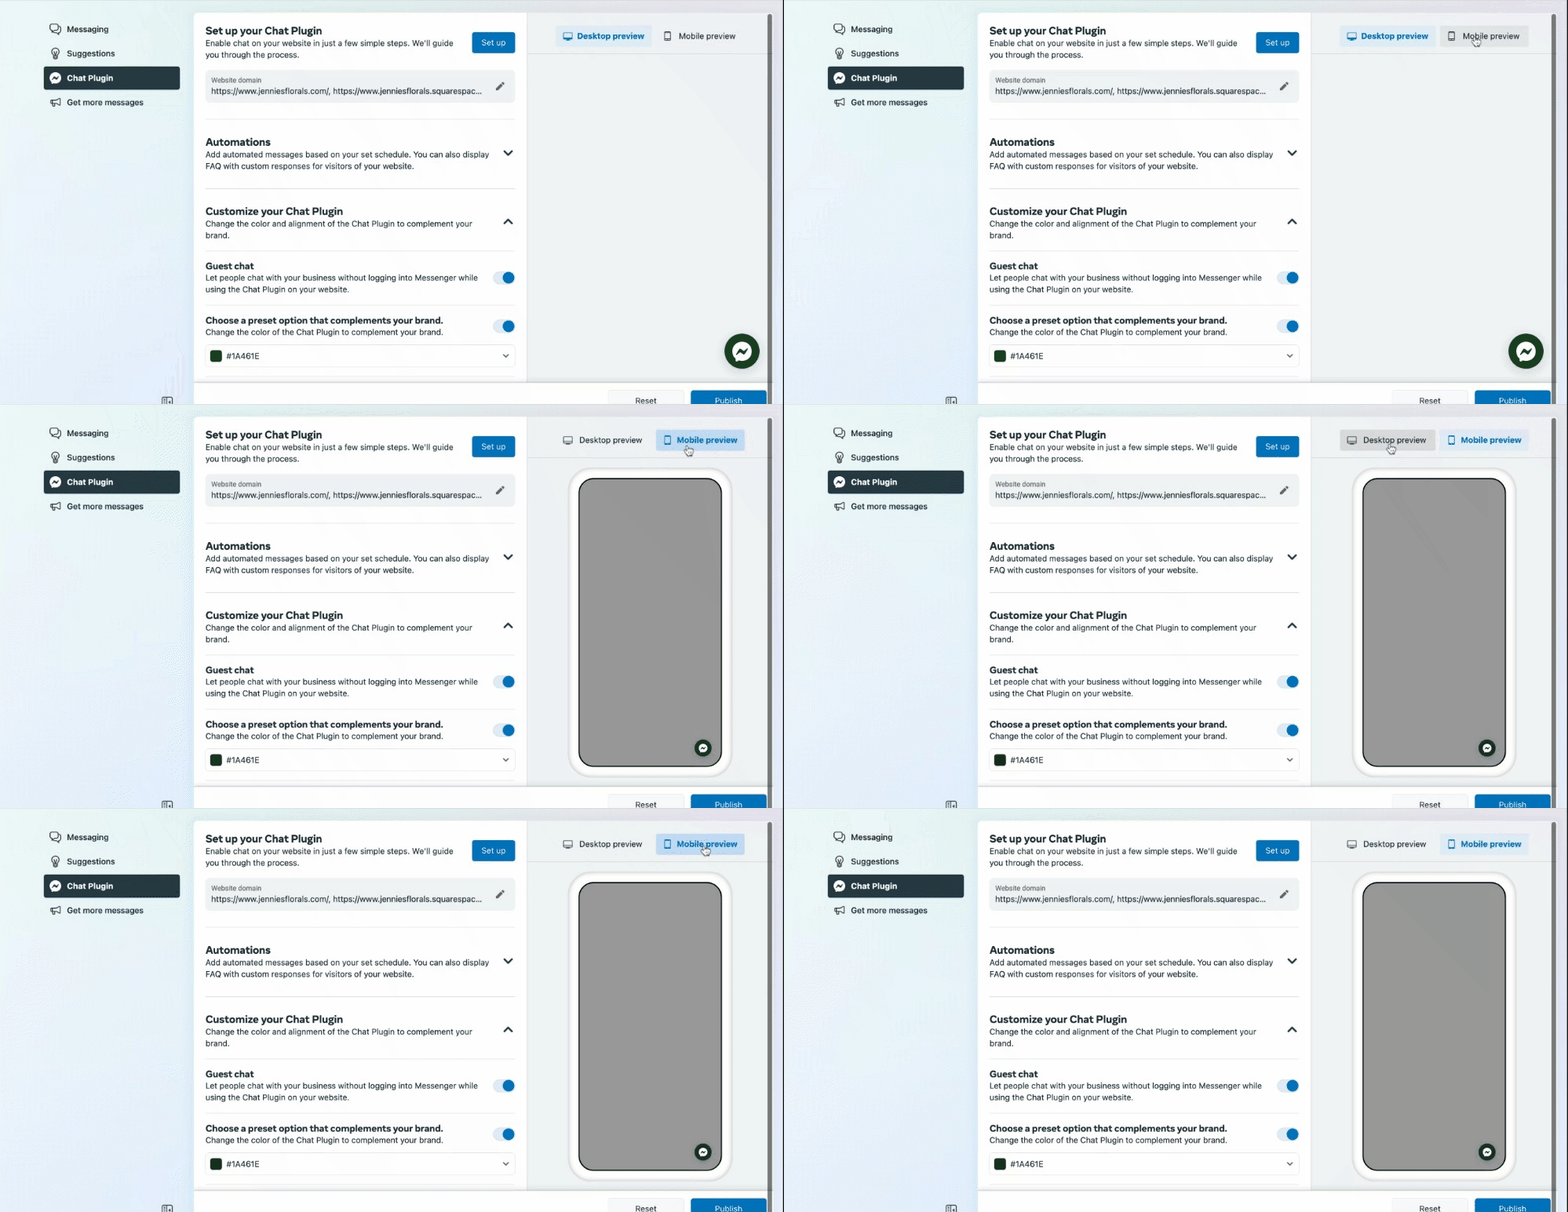
Here, we have a few options to make the plugin feel branded to your website. As you go through these, you’ll be able to see your changes in real time with the sample plugin on the right-hand side. You can test this out in both desktop and mobile formats.
Let's go through the options for customizing your Facebook Chat Plugin:
Guest Chat: Toggle this option on or off to let people chat with your business even if they aren't logged into Facebook.
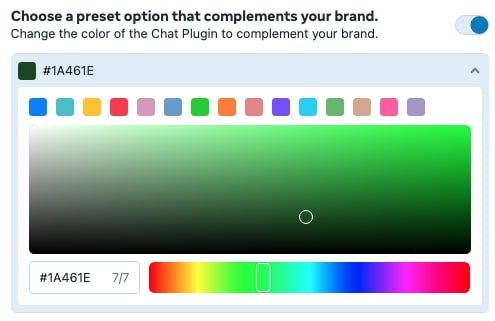
Preset Option: This changes the color of the chatbox plugin. Facebook uses hex color codes, so you can plug in the exact color to complement your website.
Chat Button: Choose how you would like the Chat Plugin button to appear on your website with the predefined display and style options.
Prominence: Select how you want your chat box to appear to visitors. You may prefer a small icon or you may prefer a welcome message to appear to get the conversation started. It’s up to you!
Chat Button Size: Select the size of the chat button you prefer on both desktop and mobile.
Chat Window Size: Choose which chat window size you want to use on your website: Standard or Compact.
Position: You can also play with the alignment and margin values to control where the chat box sits on your website.
Once you’re happy with the look and feel of the chatbox, hit Publish.
Find + Copy your Chatbox Code
We're almost ready to add the chatbox to Squarespace, but first, we'll need to grab the code from Facebook.
Click the blue Set Up button at the top of the Chat Plugin section on Facebook.
A pop-up window will appear asking you to choose a setup method. For Squarespace sites, you’ll select Squarespace.
Next, from the drop-down menu, choose the default language you would like your chatbox to have. Click Save & Continue.
Now we're going to re-enter the domains we just set up in the Advanced Messaging if they don't appear automatically.
First, enter the domain for the website you would like the chat plugin to appear on. Again, the second domain is optional, but you can also add your built-in Squarespace domain here. This will show the plugin live on the backend of Squarespace, which you might find helpful.
If the domains appear automatically and are correct, click Save & Continue.
With this information, Facebook has generated custom code that you’ll need to add to your Squarespace website. Copy the code and press Next. Now, all you need to do is paste that code directly into your website. Click Finish > Done and let’s head over to Squarespace to add the Facebook Chat Plugin code to your site!
Add the Facebook Chatbox Code Injection to Squarespace
Log into your website and head over to Settings > Advanced > Code Injection.
Paste the code from Facebook into the Footer section and hit Save. The chatbox plugin should appear, but you might need to refresh the page to give it a little jump.
Now you're ready to start interacting with your website visitors through Facebook Messenger!
If you liked this post, Pin it to Pinterest! 👇🏻


