

How to create marble textures in Photoshop
BY BIG CAT CREATIVE
Hey there DIY designers!
Today I’m going to show you how to make a Marble Texture in Photoshop. There's a few steps to this process, but it's pretty simple. We'll start by making it in black and white (like the version on the graphic above) then we can adjust the colors at the end.
Marble is really on trend right now, so, knowing how to create your own Marble Texture can save you a lot of time looking for the *perfect* texture, and also save you a lot of money downloading bundles.
So let’s get started!
STEP 1
Create a new document in Photoshop with a White Canvas. I’m using 2000x2000 pixels, so my texture will be quite large. (Make sure that it’s RGB, as when you create this in CMYK it doesn’t work as well)
Make sure your foreground and background colors are set to default by clicking the tiny button next to the colors:

STEP 2
Make sure your background layer is unlocked by double clicking on the layer and clicking OK.

Step 3
Click Filter > Render > Difference Clouds, and then do it again so your document is quite dark, like this:


STEP 4
Then, click Image > Adjustments > Equalize. It should look something like this:


STEP 5
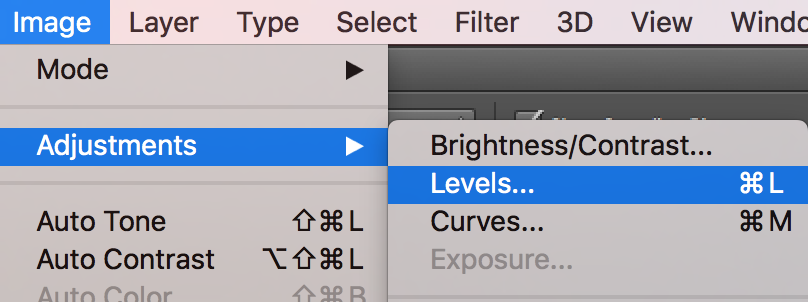
Click Image > Adjustments > Levels and use the small handles to adjust the levels, move the middle handle almost all the way to the left. Adjust the levels to closely what I have here, until it looks something like below:

STEP 6
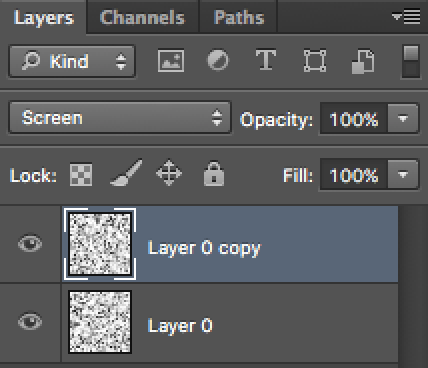
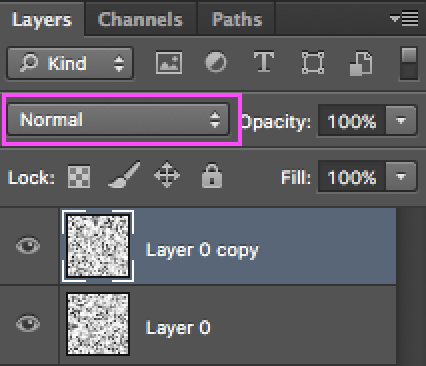
Then we want to duplicate the layer. Click Layer > Duplicate. Now you will see there are two layers in the Layer Panel:

STEP 7
We want to rotate the top layer 90 degrees (so make sure the top layer is selected as above) the click Edit > Transform > 90 degrees

STEP 8
Then with the top layer still selected, click the Blending Mode and change it to Screen.

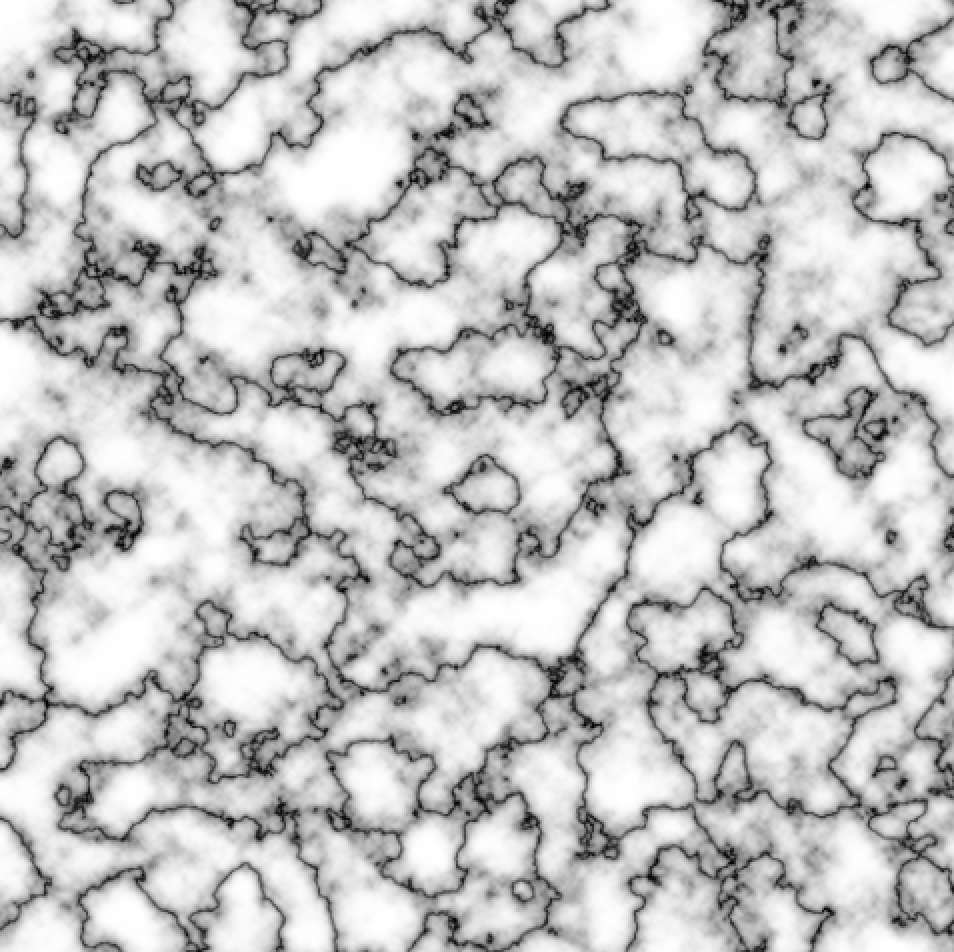
Voila! You have yourself a marble texture. Here is a close up of what my marble currently looks like:

CHANGE THE COLOR
If you want to change the color of the marble, there’s a few different things you can do.
This section is really a sort of an “adjust until you’re happy with how it looks” process. below are the basic ways to change the colors, but there’s so many variations that you can play with, and I encourage you to do so.
At the bottom of the Layer Panel, create a new Adjustment Layer > Solid Color.

Choose a color that you like. Once you choose a color, change the Blending Mode of the Adjustment Layer to either Screen, or Multiply (or experiement with others)
Here’s an example of two I did:
Multiply with a Light Blue

Screen with a Navy Blue

If you want to make your marble metallic, you can experiment with different textures and blending modes.
Here I added a Rose Gold Texture, then changed the Blending Mode of that layer to Lighten.


Adding colors and textures may take some extra adjusting to get just right. I usually merge the two marble Layers together (select both layers by holding down Shift, then Right click and Merge Layers) then, I use the Adjust > Brightness/Contrast and adjust these until the desired color/texture is achieved.
I’ve created 3 metallic textures (by following this exact tutorial) for you to download. So, if you just can’t be bothered doing it yourself, download these for free!

Thanks for reading! I'd love to see what you create, let me know in the comments how you go, and share any other tips!
Want more design tips & tutorials? Check out the blog posts below!
How to create GIF stickers for Instagram in Canva and Photoshop
How to create a scrolling computer mockup in Photoshop
How to Create Wreaths in Illustrator
How to Create a Gold Foil Texture in Photoshop
How to Create a Hand Lettered Logos (When Your Handwriting Sucks)
How to Create Rose Gold Text in Illustrator