How to create GIF stickers for Instagram in Canva and Photoshop
I'm going to bet that most of you have used GIF stickers on your Instagram Stories, but have you ever wondered how to create your own? The good news is that they seem a lot more complicated to create than they actually are!
There are a handful of ways you can create these short animations, but two of the most popular are Canva and Adobe Photoshop.
Ready to create a GIF for your brand? Let's get to it!

How to Create animated GIFs in Canva:
Step 1: Setting up your Canva document
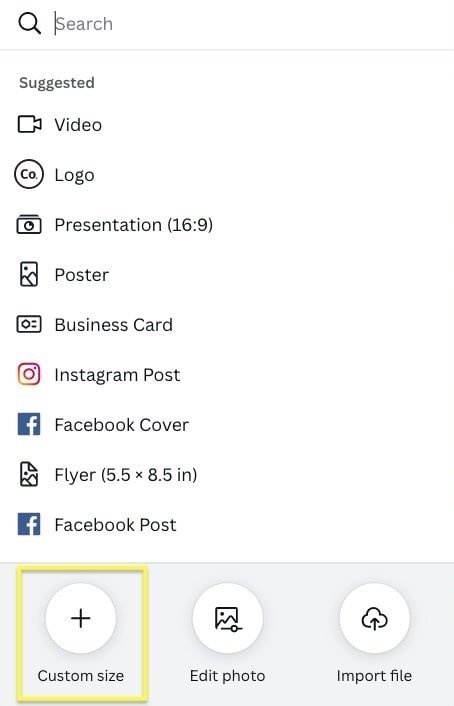
Head over to Canva and click Create a Design in the upper right corner. Select the document size you'd like to use or set up a custom dimension by choosing the Custom Size option.
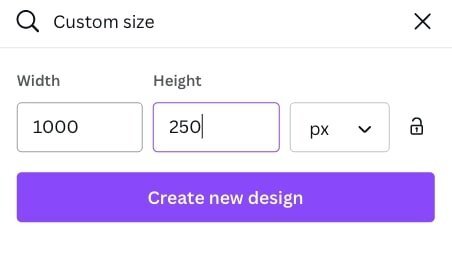
I'm going to create an animated text GIF, so I'll make my document 1000 x 250px but feel free to choose dimensions that fit the size of the image you're looking to create.
Step 2: Design your GIF
Now we're ready to design the GIF! I like to think of this process like a flipbook - each frame creates the movement we'll see in the final animation. With that, the first frame will be the starting point of the GIF.
Important Note: If you are using any assets from Canva be sure to check on the usage rights. All free media on Canva can be used for free for commercial and non-commercial use. With these, attribution is not required, but is appreciated. If you’re using a photo, icon, music track, video, or other media that contains an identifiable person, place, logo, or trademark, please ensure you check the source or contact Canva if you’re unsure.
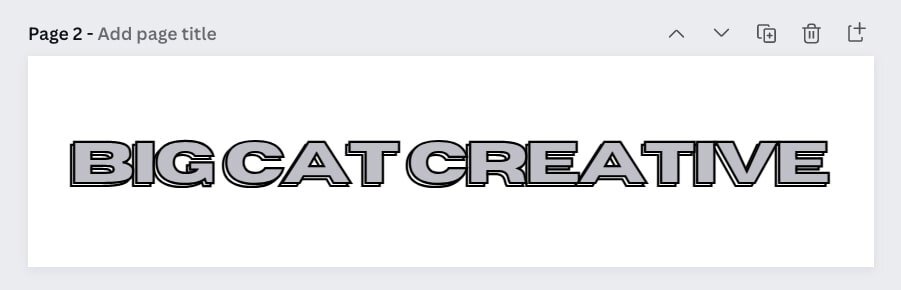
Since I'm creating a text-based GIF, I'll simply use Canva's text tool to create some text to my liking. I've colored it grey and added a black border to it. Easy enough!


Once your first frame is complete, duplicate this page so you have the same design on two pages. This is where we are going to create our first bit of animation.

On the second page, I'm going to add another text block behind the original text to create a blocking effect. Maybe yours will change colors or move around the page.
My advice is to keep the changes small as these will create the smoothest transitions in your final GIF.
Next, let's duplicate Page 2 and add another bit of movement! I'm going to add another layer of text behind everything to continue this blocking effect.
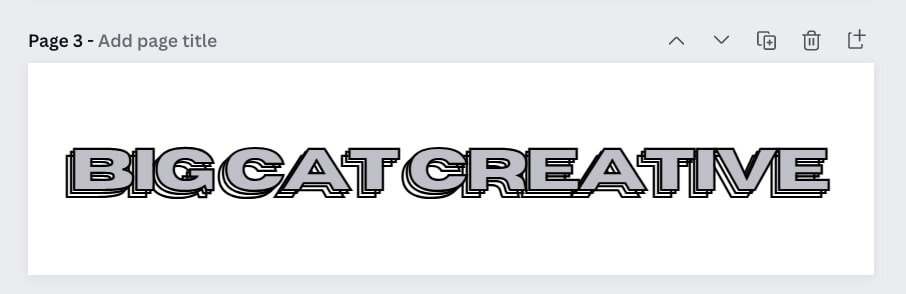
Starting to see the pattern? Now we're going to duplicate Page 3 to create the next layer of animation. Then, continue to duplicate and make tweaks in each frame until you feel that your animation is complete.
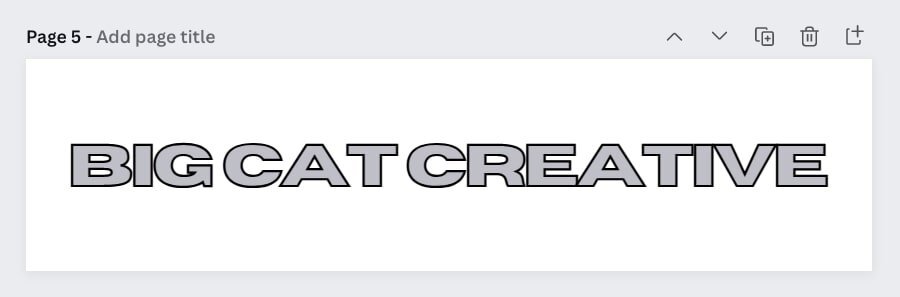
You'll see in my example that I've started to remove the blocked layers to show the text moving back to its original state.

Note: I recommend keeping your design under 10 pages/frames if possible to ensure your final file size isn't too large.
Step 3: Adjusting animation settings
If at any point along the way you want to see how your animation is looking, you can hit the Play button at the top and you can preview your GIF and make adjustments to the frames as needed!
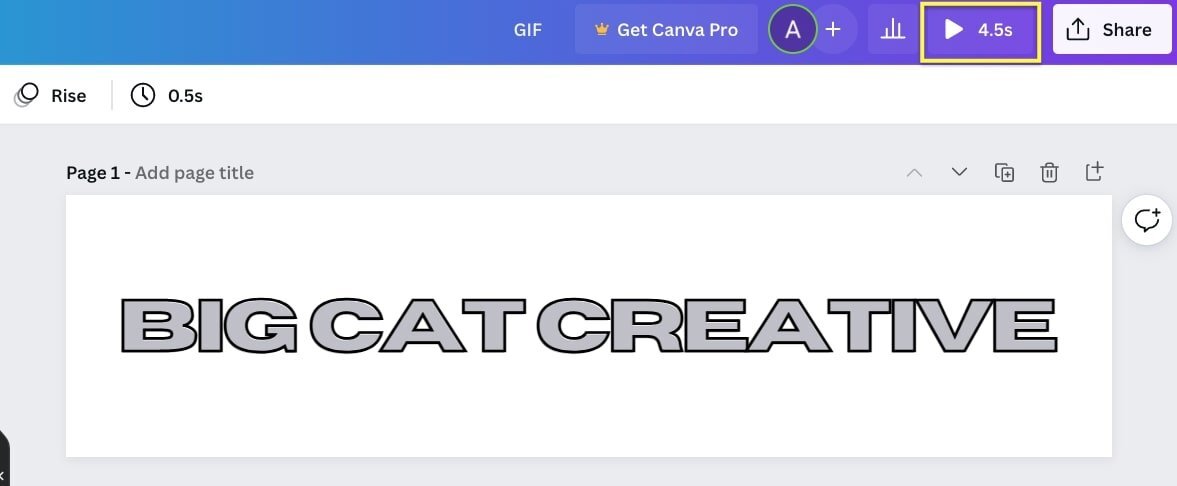
In addition to adjusting your designs, you can also control slide timing. You can adjust this in the upper left corner to make your animations appear faster or slower.

Step 4: Save & export your GIF
Once you're satisfied with your design click the Share button on the top menu bar and select Download.
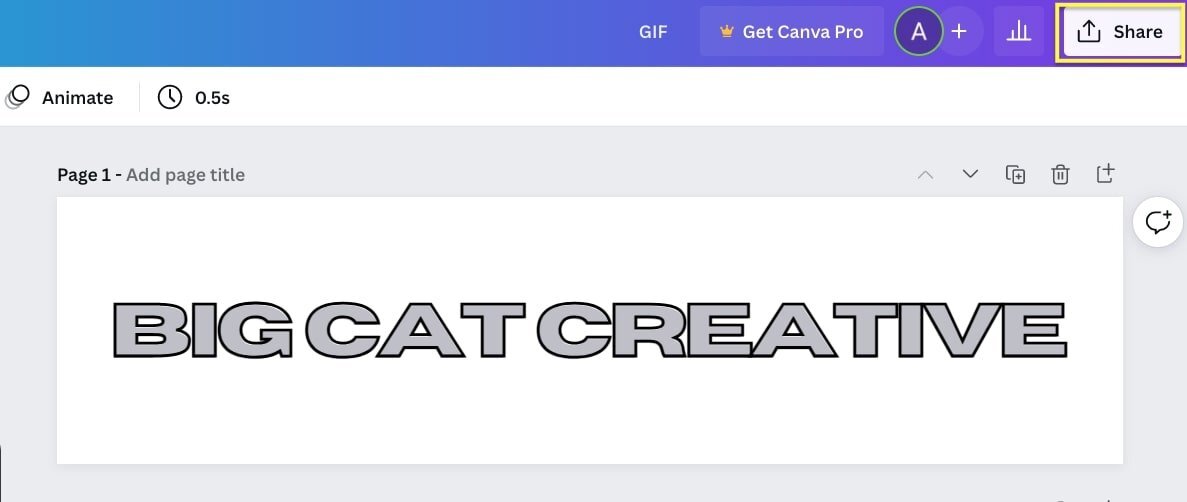
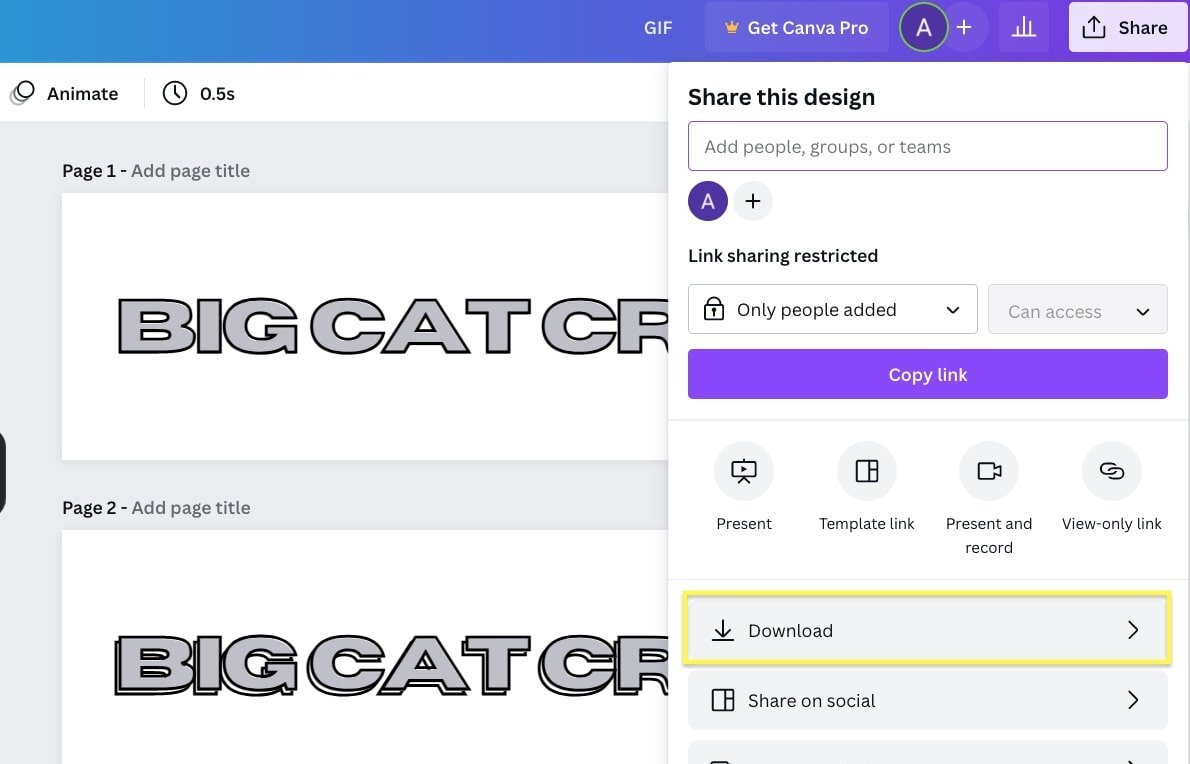
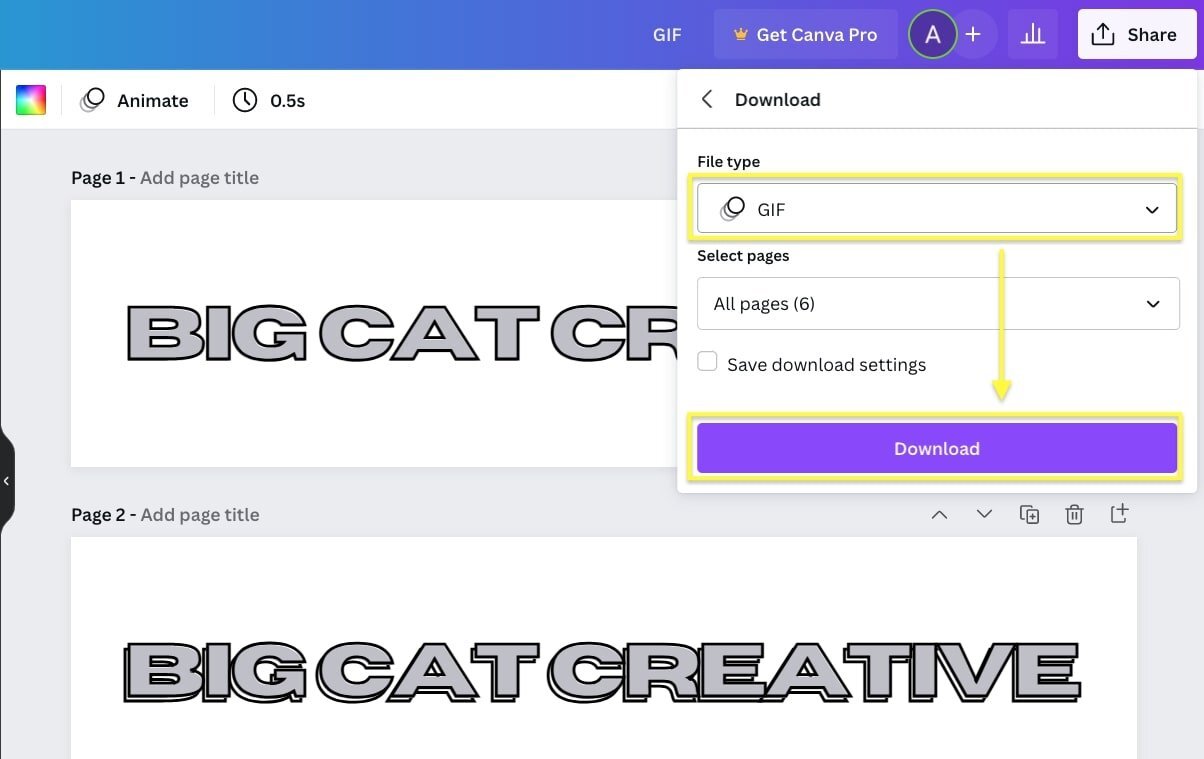
You'll see settings for your file. Change the file type to GIF and hit that purple Download button to save and export your GIF.
Note: While Canva is a great design tool it has its limitations. Canva does not have the option to download a GIF with transparency (aka removing the background), so your final GIF file will have the background as it appears in Canva. In my case, it will be white. If you only have Canva to work with, I recommend making the background a fun color, so it looks purposeful! If you want to create a GIF without a background, follow along with the Photoshop tutorial below!
In just a few simple steps, you've created a fun GIF that’s worthy of posting across your socials! You might be wondering, "Now, how do I get my GIF onto Instagram?" Great question! I've included a helpful post that guides you through all the steps towards the bottom of this article.

How to Create animated GIFs in Photoshop:
If you are a bit more advanced on the design side or prefer to use Photoshop, let's dive into how we can create the same GIF using Adobe Photoshop.
Step 1: Upload or create your assets in Photoshop
If you already have GIF assets:
I'm going to use images I've already created, so I'll upload them by going to File > Scripts > Load Files Into Stack.
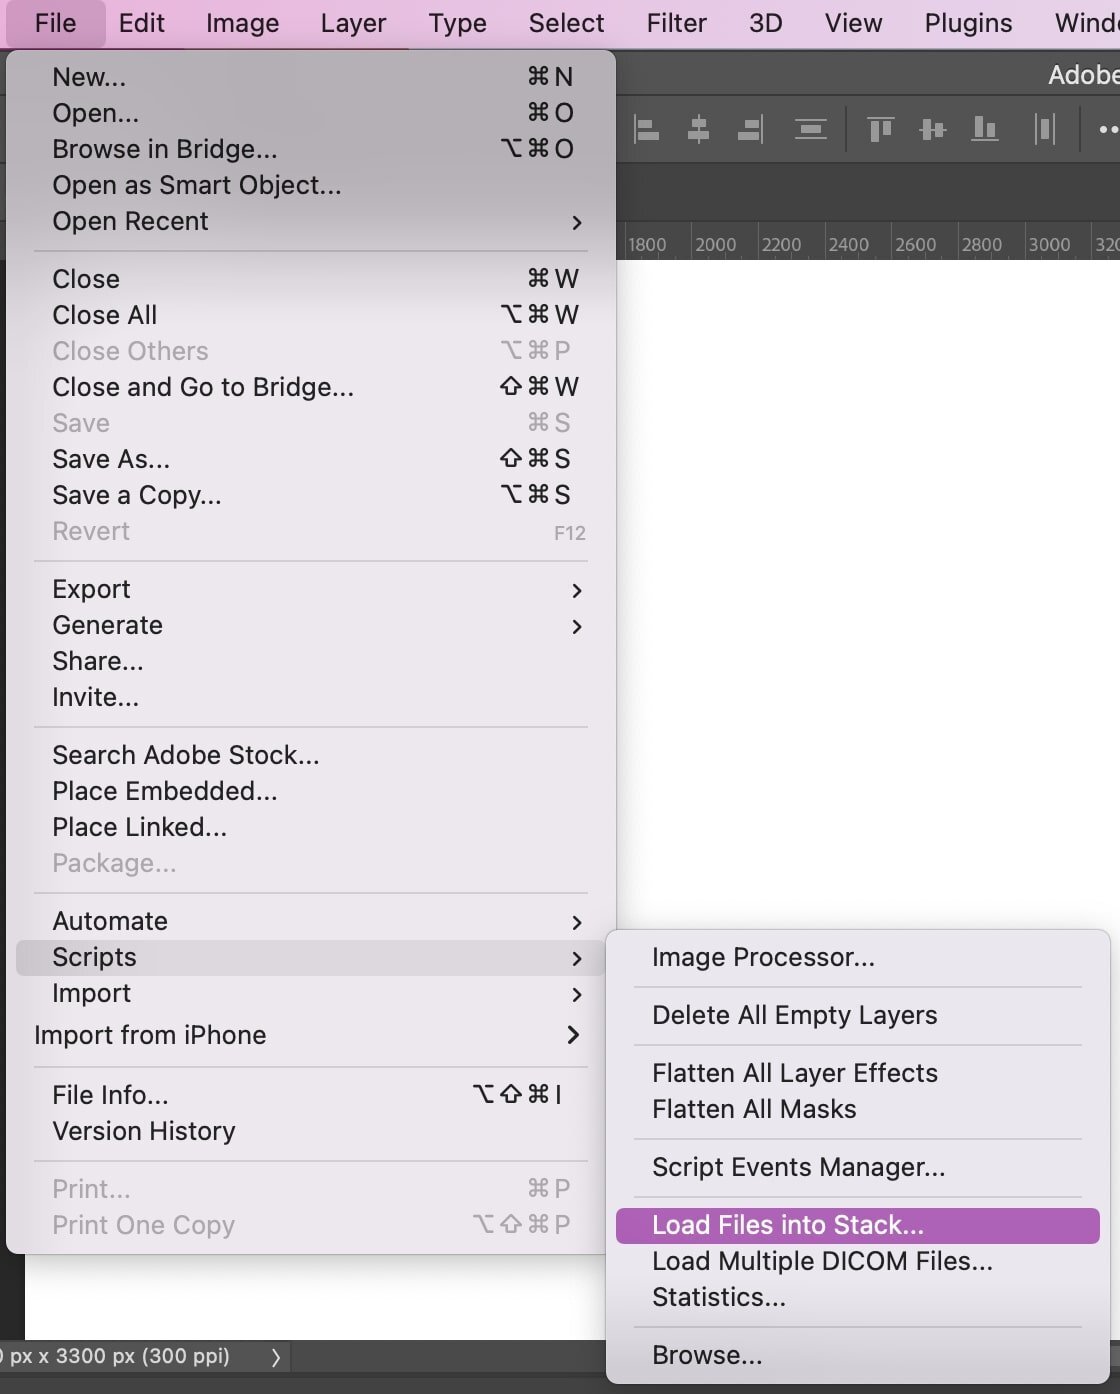
Then, click Browse, select the files you want to use in your GIF, and then click OK.
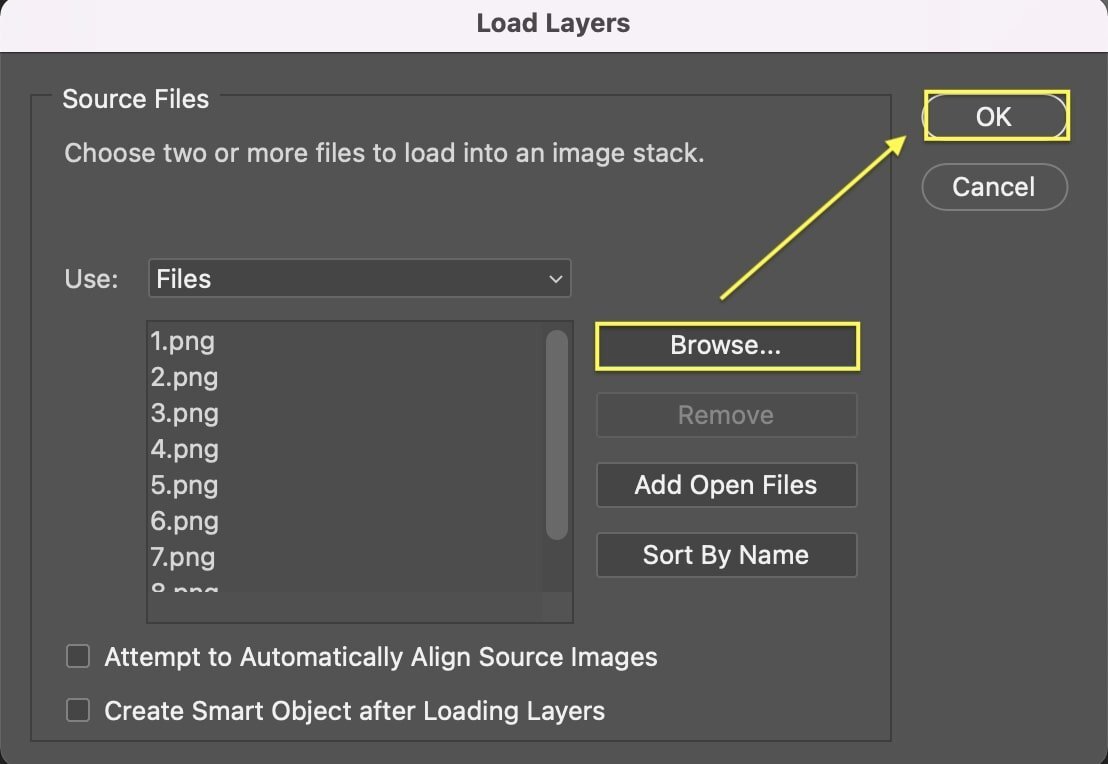
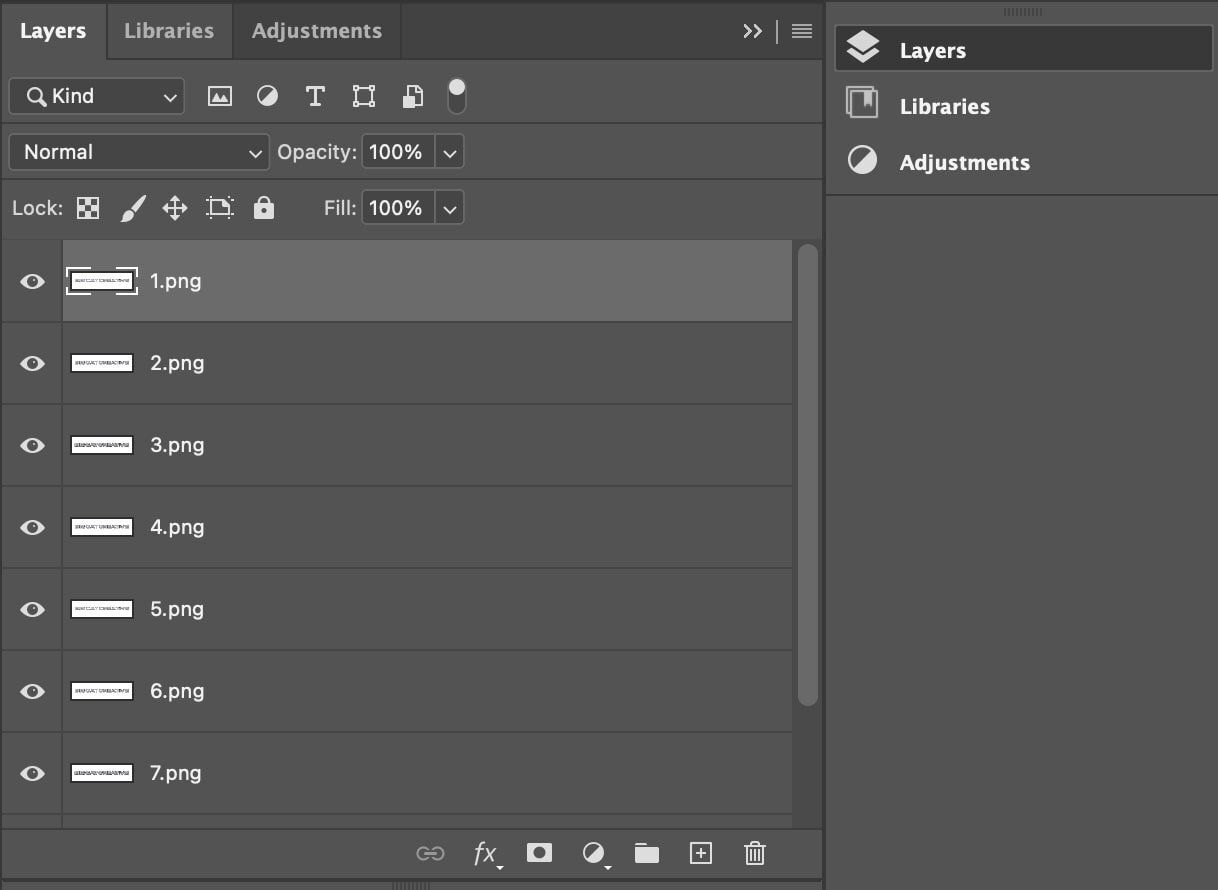
This will bring all assets into one Photoshop document as layers rather than uploading them one by one. If you open up your Layers panel, you should see all of your assets inside.
If you want to design your GIF in Photoshop:
To create the GIF design in Photoshop, we'll need to create each frame as a separate Photoshop layer. To do so, head up to the navigation menu and select Layer > New > Layer.
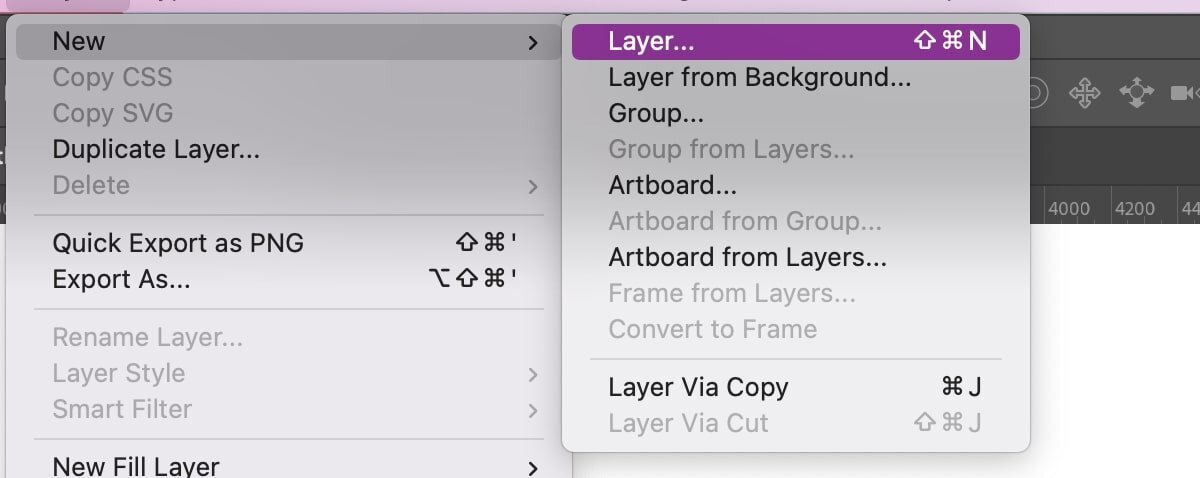
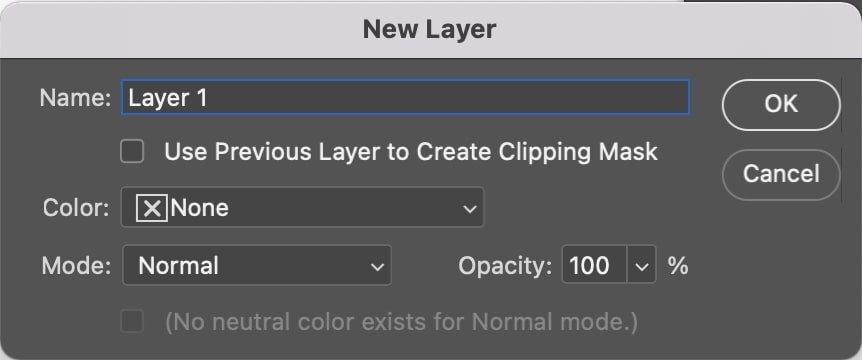
A popup window will appear for your new layer. It will be helpful to name your layers so you can easily keep track of them as you start animating your GIF.
Continue to create as many frames as you need by either:
Repeating the above step: Clicking Layer > New > Layer or
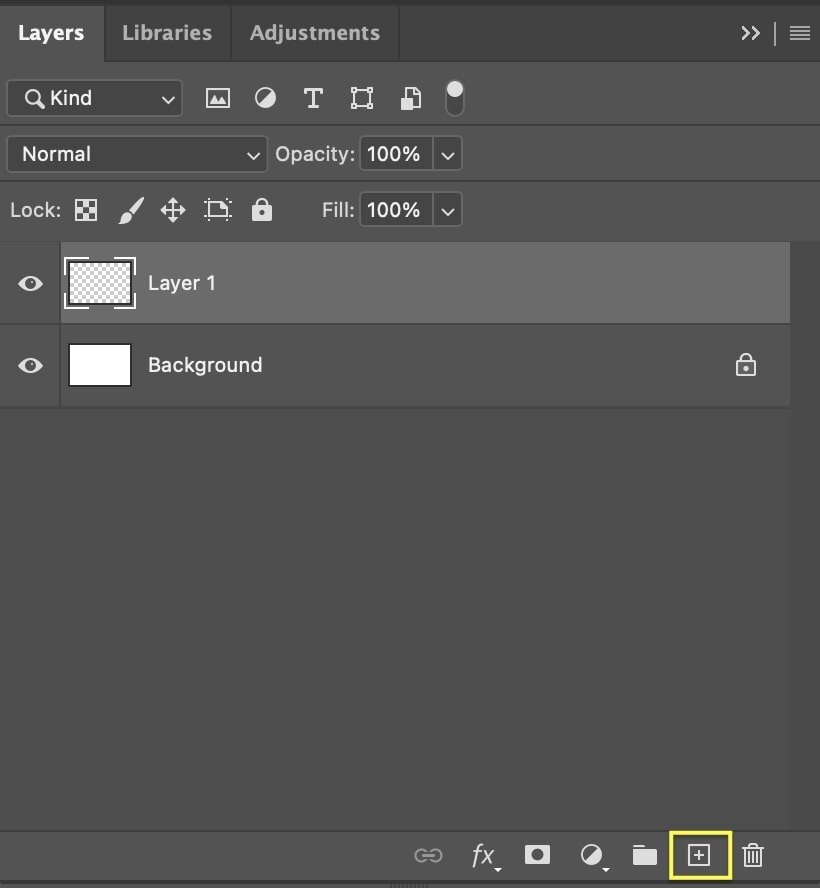
Click the + icon in the Layers panel
You'll then create your design on the first layer and make subtle changes to the subsequent frames, whether it's adding an element, changing the color, or moving it around the screen.
Step 2: Open the Timeline window
Next, we will want to open up the Timeline window. To do so go to Window > Timeline. Once selected, the Timeline window will appear at the bottom of your screen.
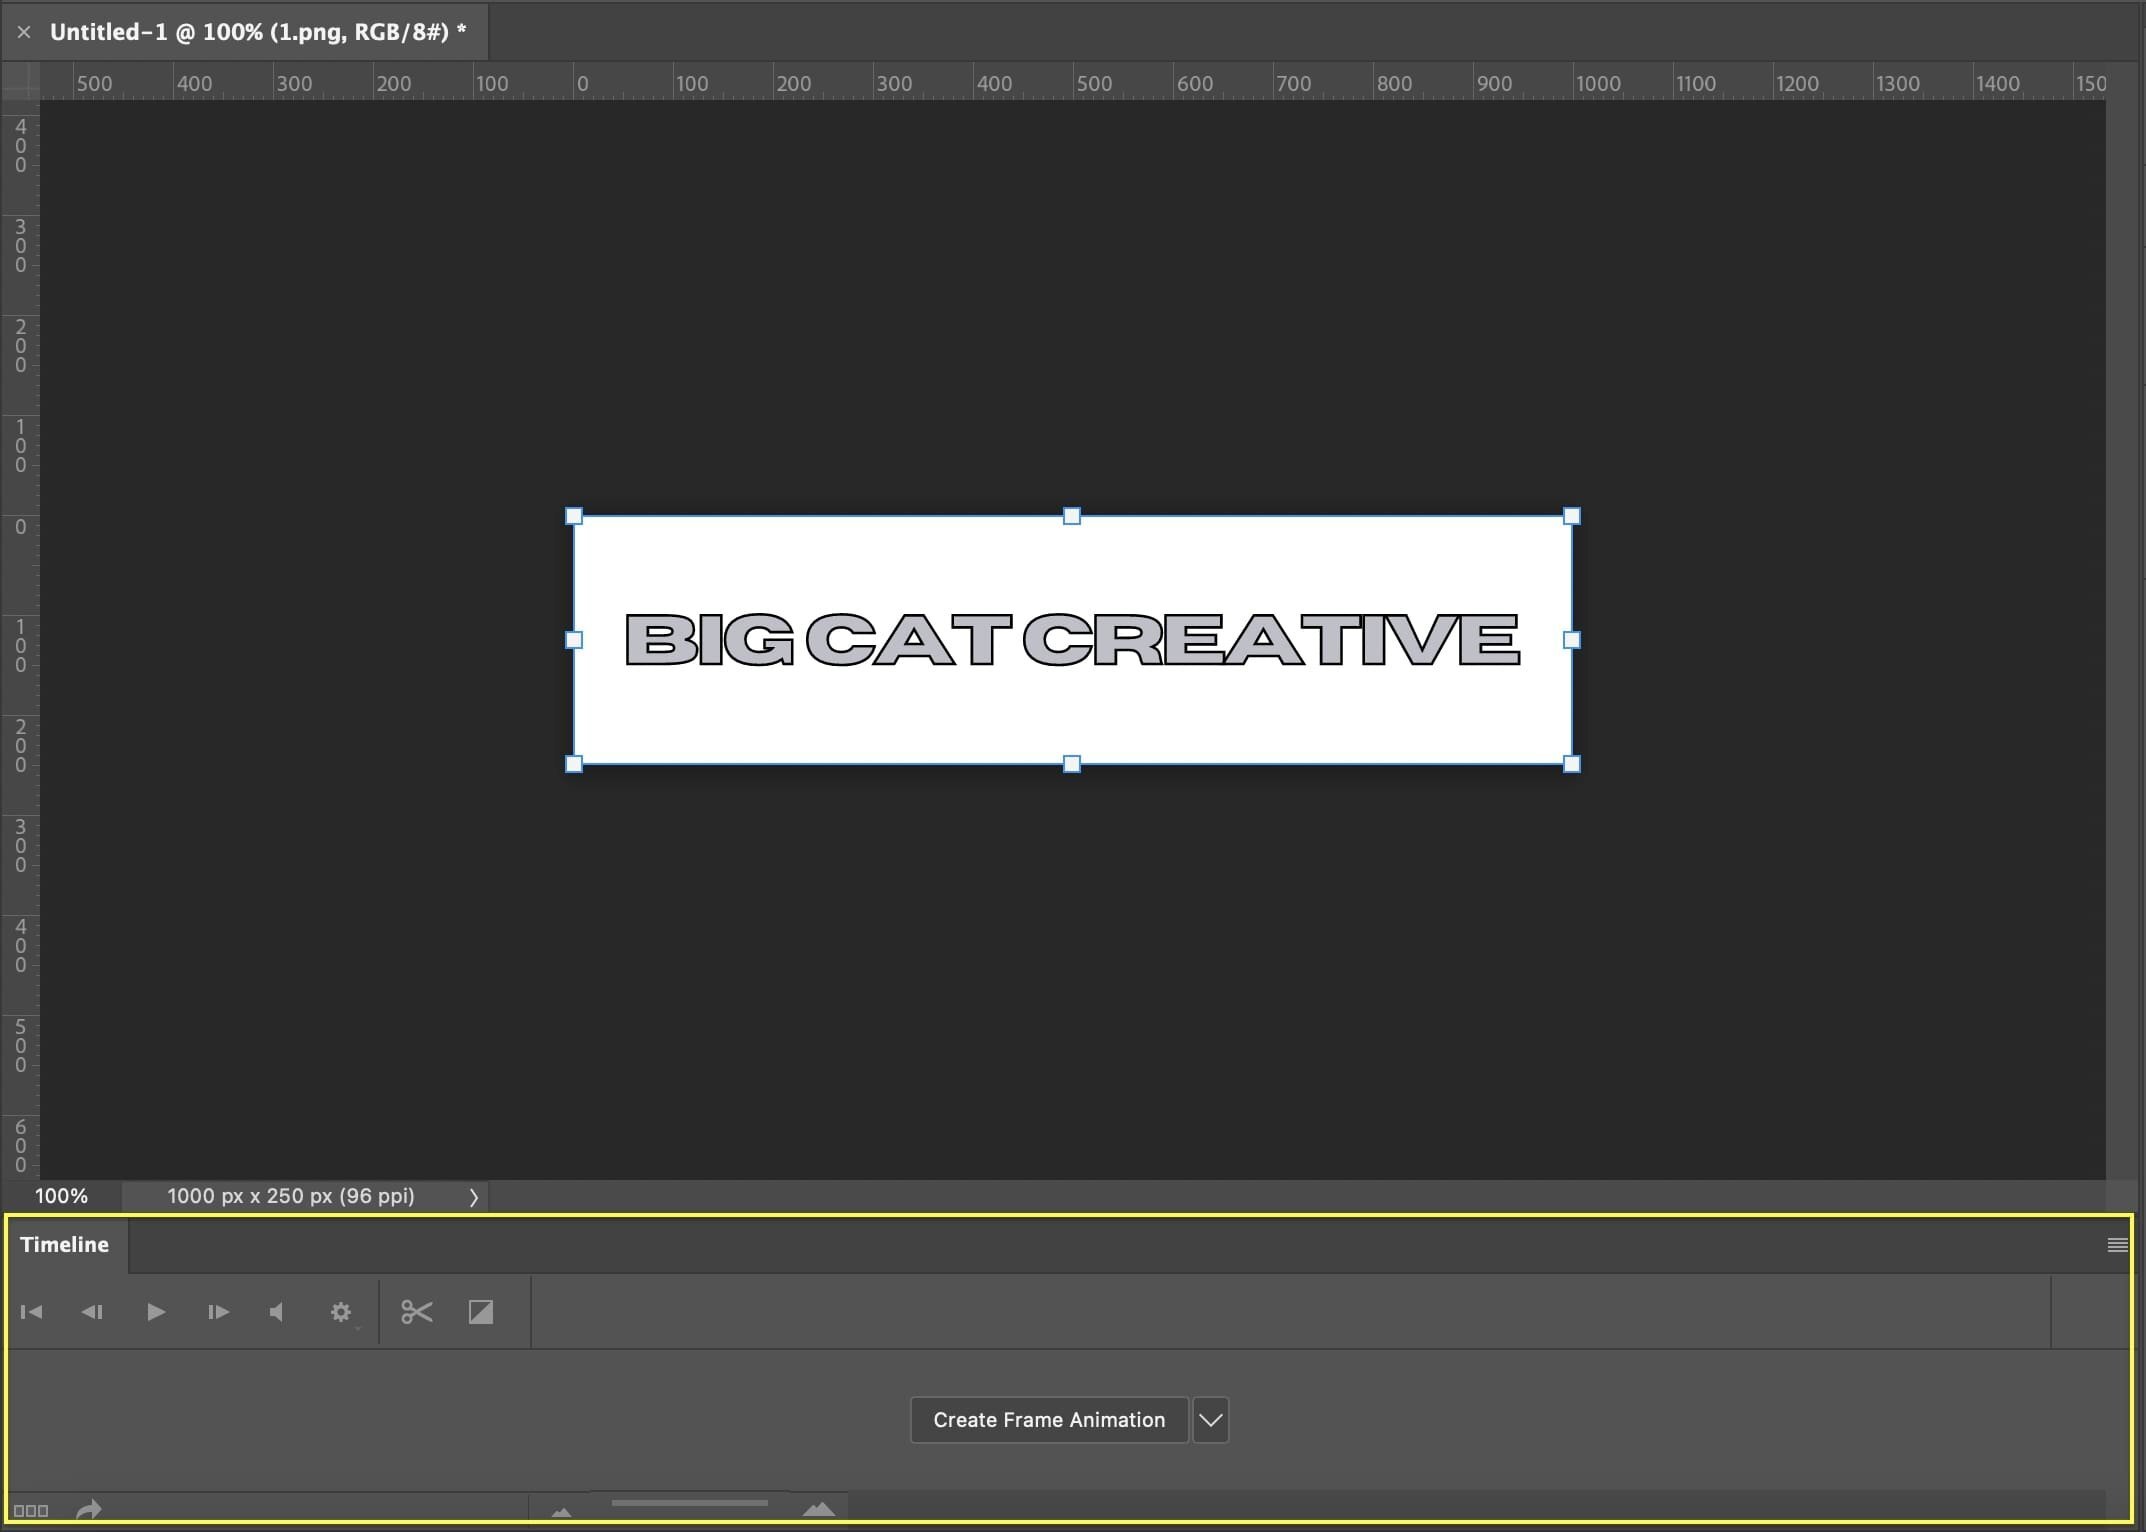
Once the timeline window is open, select Create Frame Animation from the dropdown menu that is not already the default.

Then, actually, click on Create Frame Animation so the frame animation options appear. The dropdown menu should disappear and your first frame should come into view.

Step 3: Create frames
Now we are going to create layers for our frames. As I mentioned above, I like to think of this like a flipbook in that each frame has a change made to it so as we move through the frames, our images appear to be moving.
To do this go to Select > All Layers in the navigation menu.

Then, click the Menu icon in the upper right corner of the Timeline window. From here, a dropdown menu will appear. Select Create New Layer for Each New Frame.

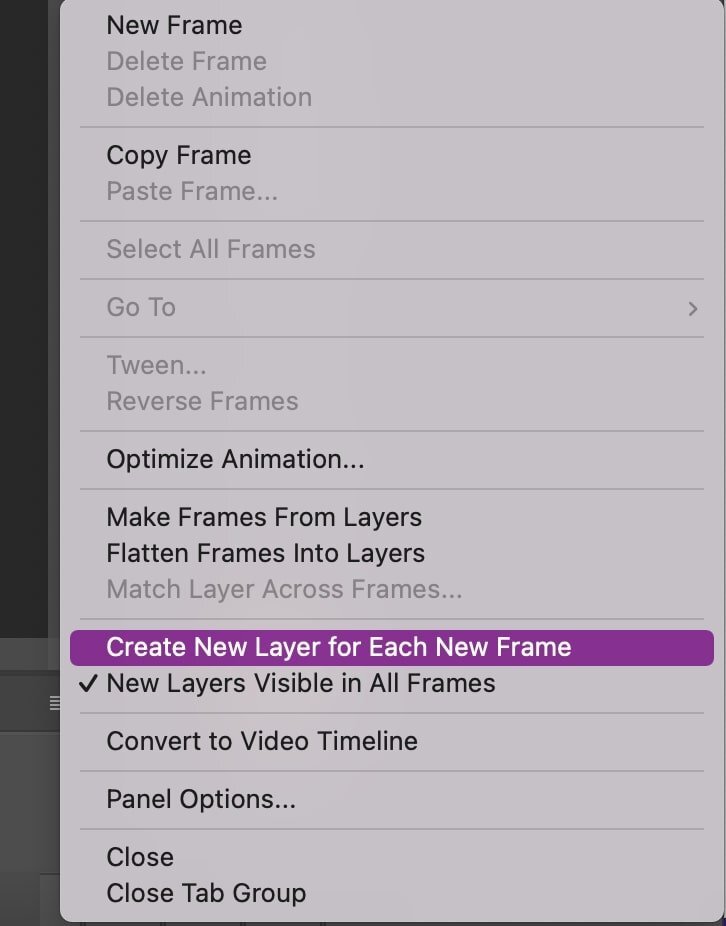
Open the same Menu icon again, but this time click Make Frames From Layers to make each layer a frame of your GIF.

Your Timeline window should now show all of the assets you've uploaded as separate frames.

Step 4: Animating your frames
You'll see a duration under each frame. If you want to adjust the time each frame appears you can click on the time and choose your desired length. I chose 0.5 seconds per frame.

You can also control how many times you'd like your GIF to play. By default, Photoshop will assign it to loop once, but I've switched it to loop Forever.

Remember, at any point, you can preview your GIF by clicking the Play icon and adjusting the frames as needed.

Step 5: Save & export your GIF
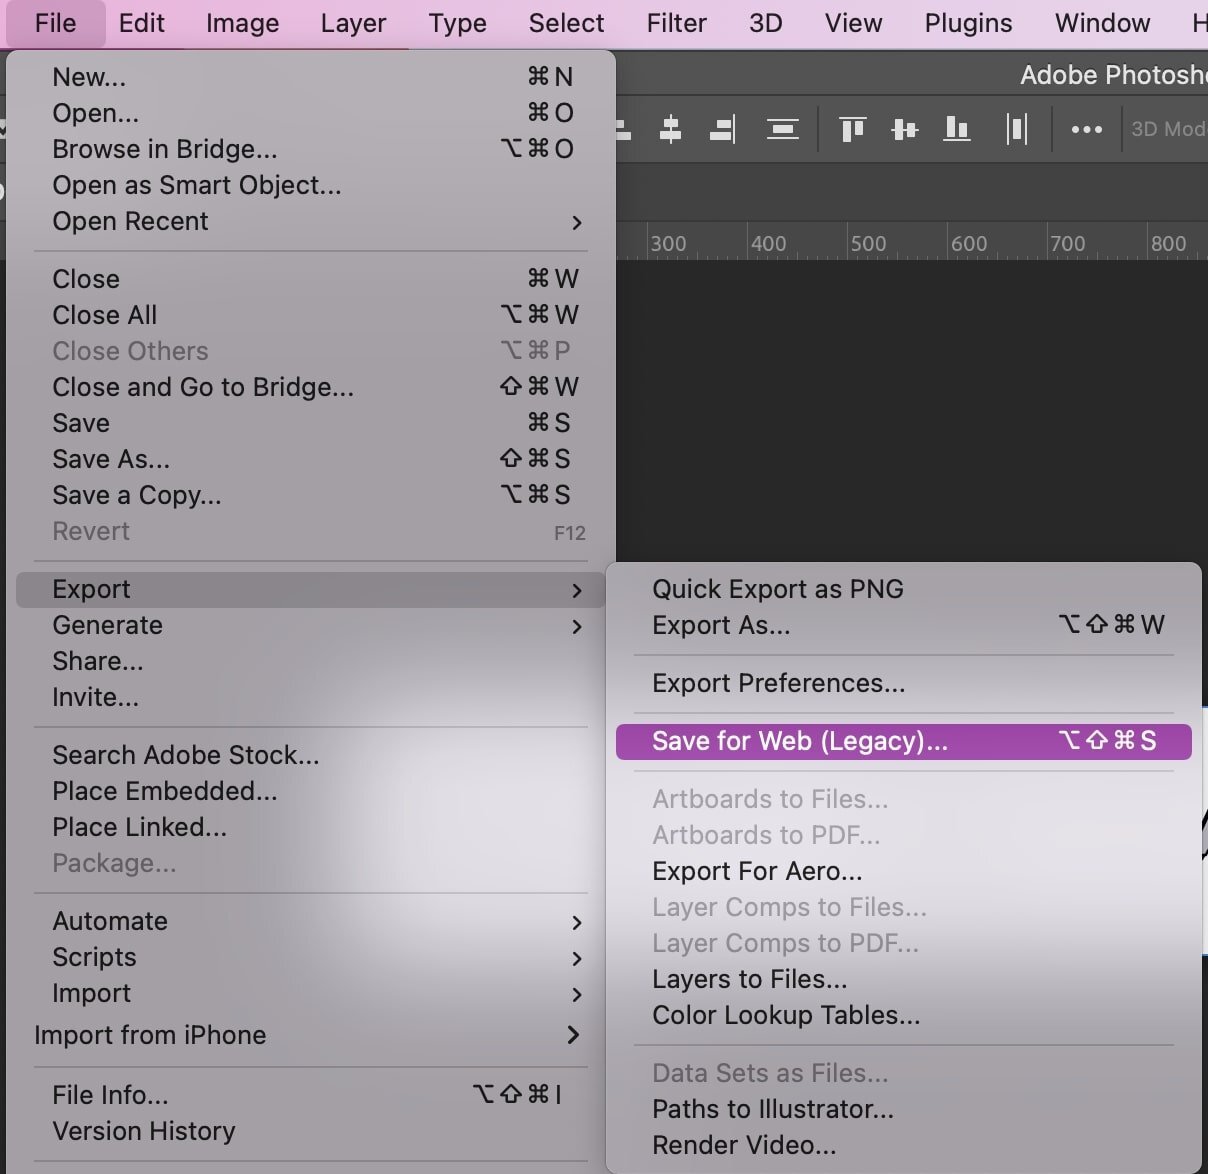
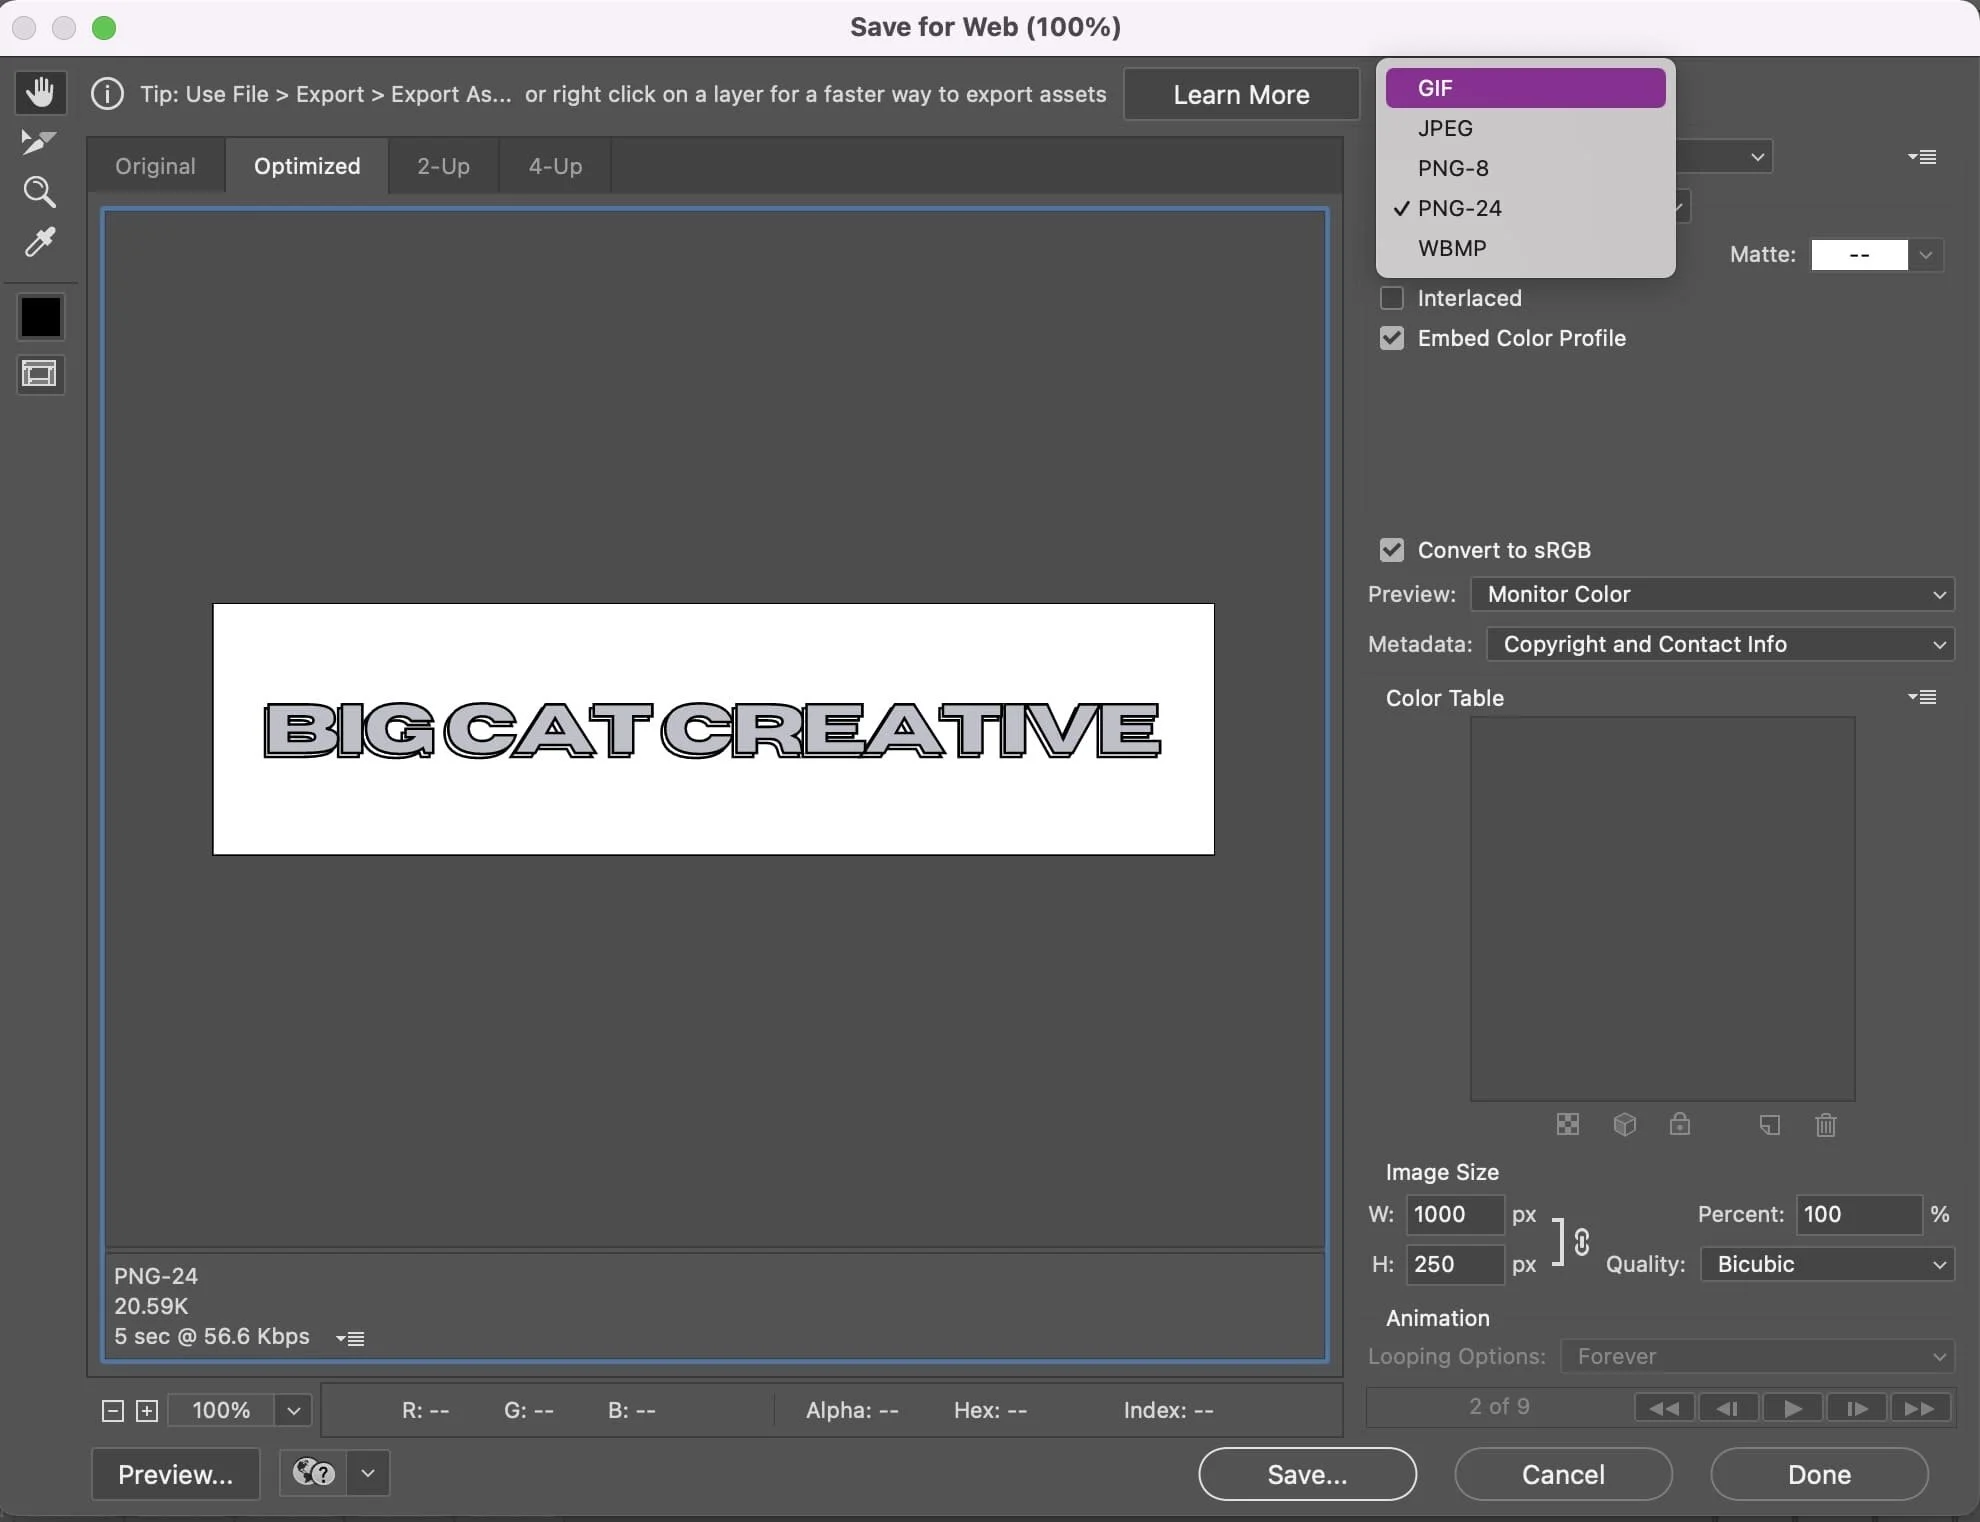
You're at the finish line! Do you like how your GIF looks? Let's save it by going up to the navigation bar and clicking File > Export > Save for Web (Legacy).
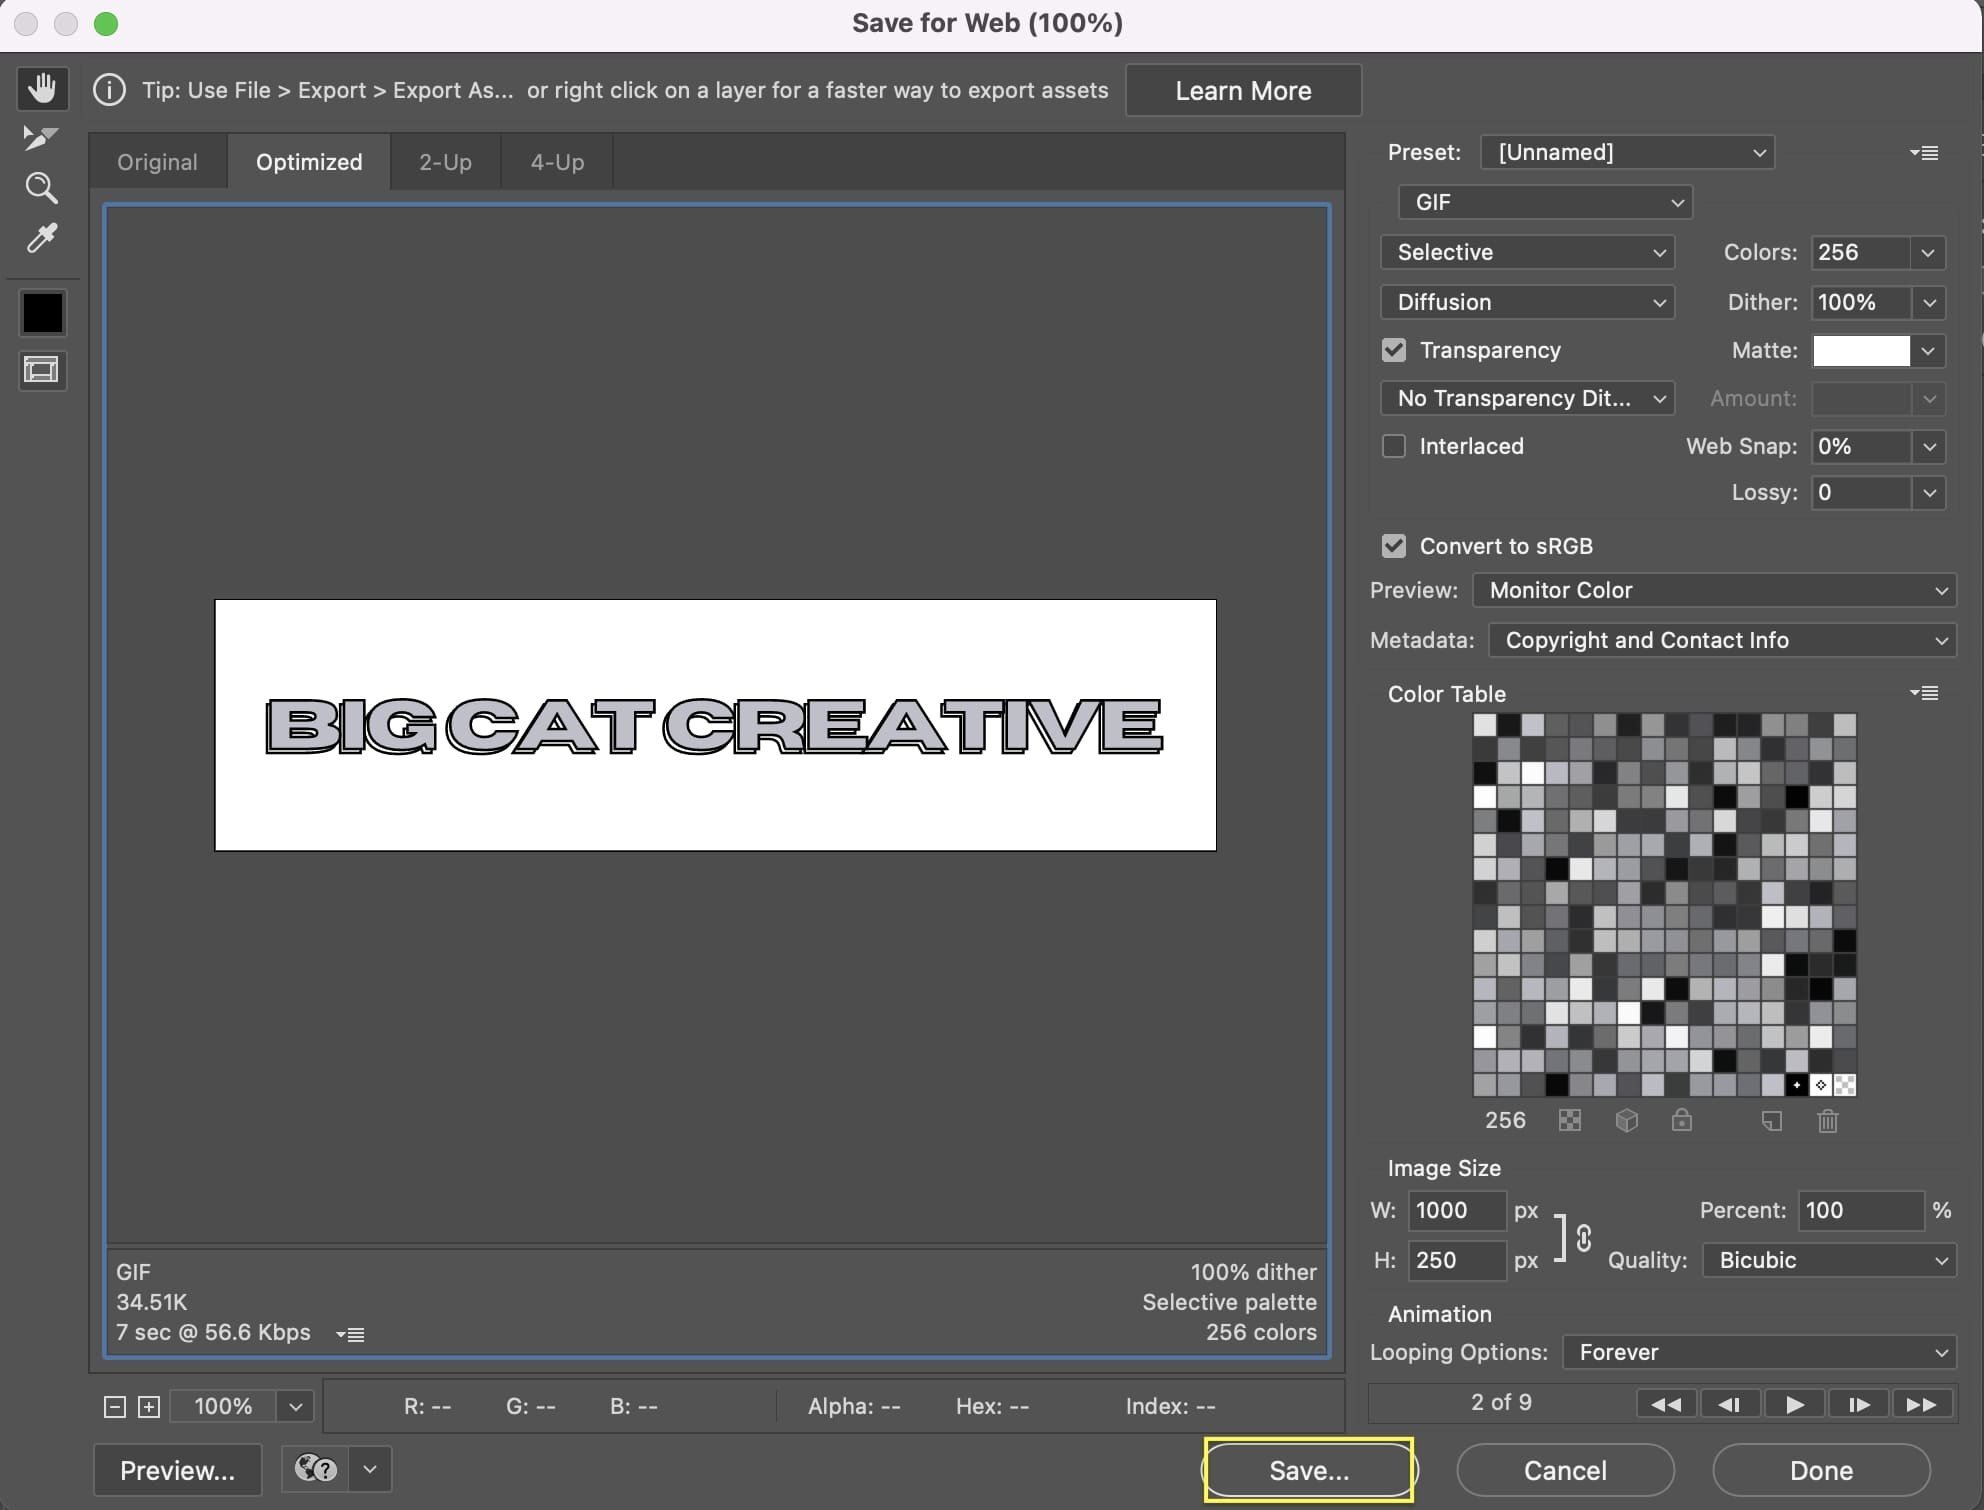
A popup menu should appear. Under the Preset dropdown, you'll want to select GIF as your file type.
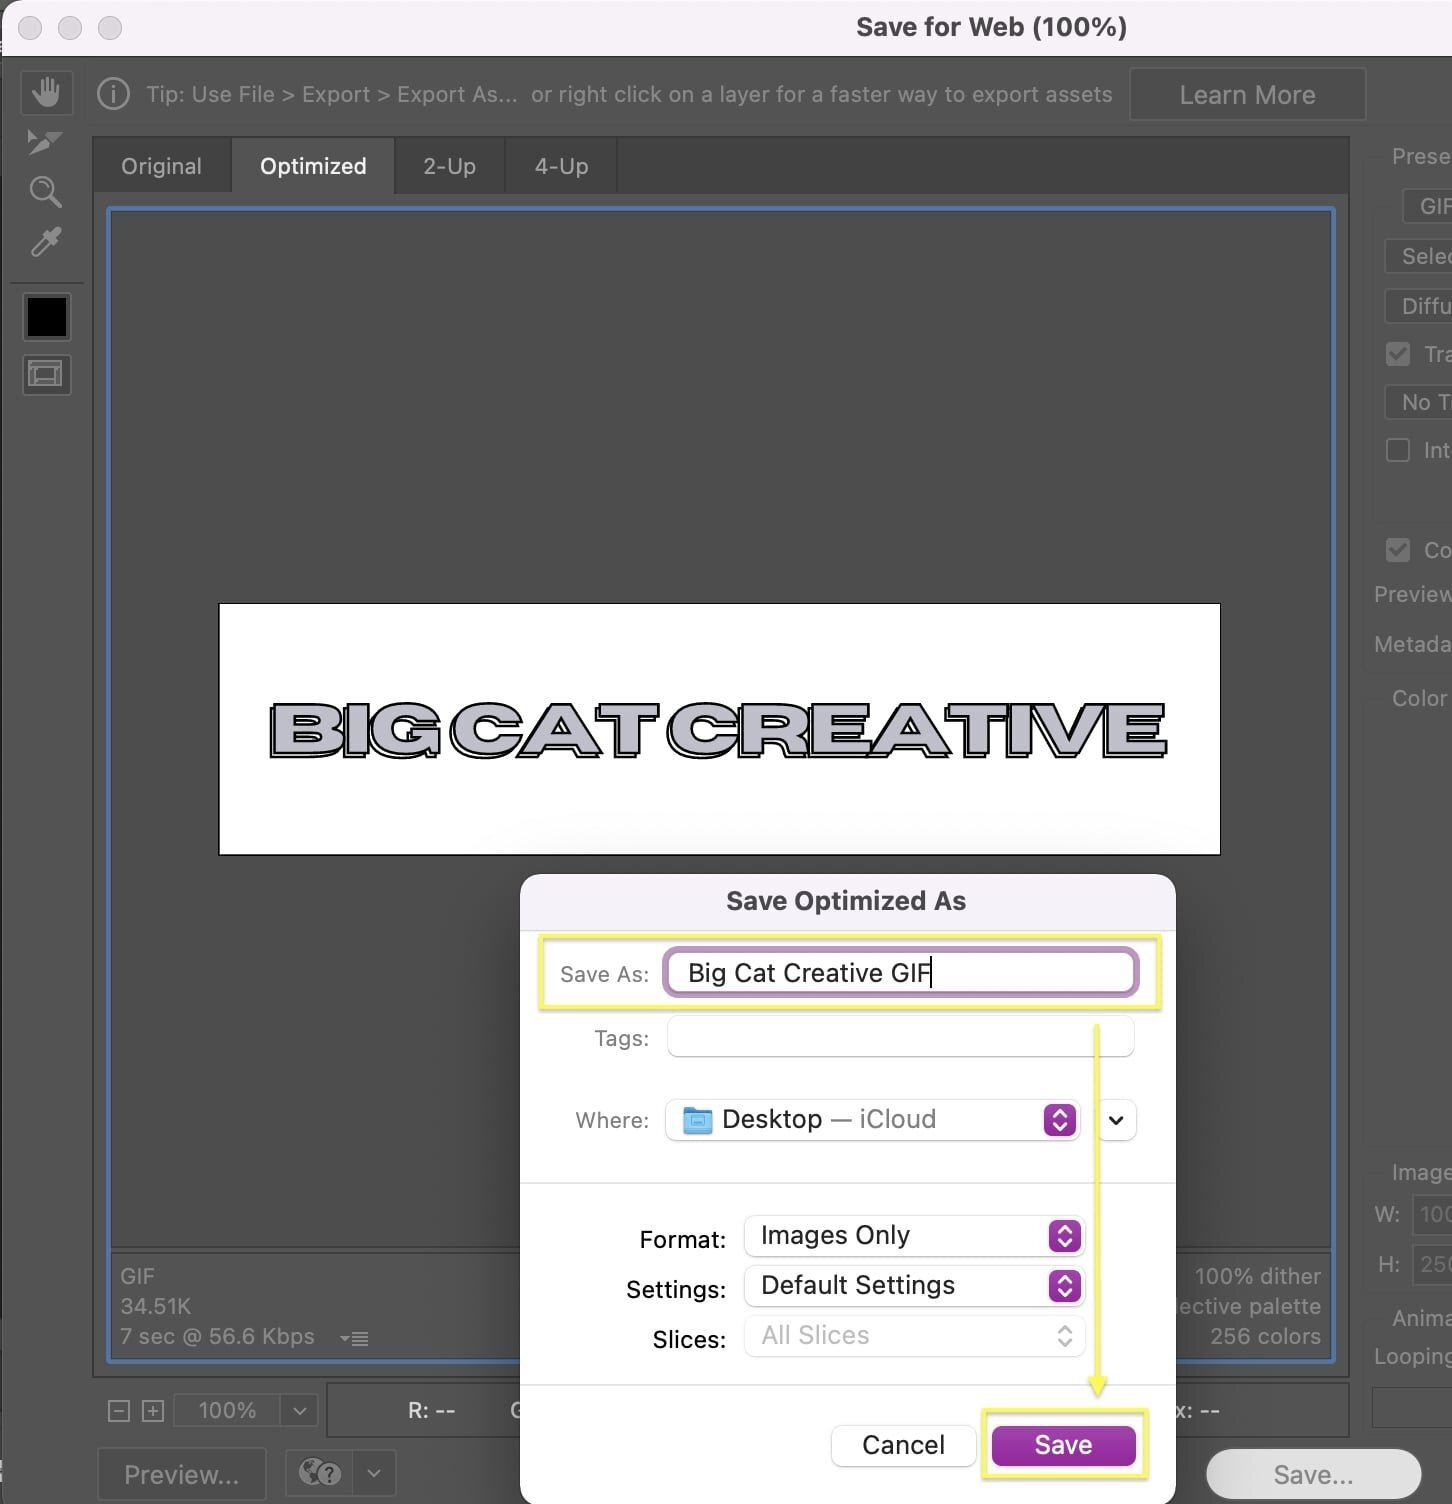
Hit Save and you'll get another popup window asking you to name your file and assign its location.
Click Save again and you've downloaded your GIF!
Only a few steps later and you've created a GIF in Photoshop! Now what?

The next section guides you to a great resource on how to upload your GIFs to Giphy so you can use them on Instagram.
How to Upload Your GIFs to Instagram
Now that you've created a GIF, I'm sure you'll want to use it on Instagram. All GIFs available on Instagram are hosted on GIPHY.
Benjamin Chacon of Later put together a great post with step-by-step instructions on how to upload your GIFS to GIPHY so you can then add them to your Instagram Stories.
Not only are GIFs fun to add to your own Instagram stories, but they can also bring attention to your brand or work because others can now use them in their stories, too!
Let us know what GIFs you create using this guide!
Want more design tips? Check out our fave tutorials below!
How to create a scrolling computer mockup in Canva
How to create a scrolling computer mockup in Photoshop
How to create a Youtube preview for Instagram Stories in Canva
How to create circle text in Canva
If you liked this post, Pin it to Pinterest! 👇🏻