

Squarespace SEO: Boosting your Site's Visibility with our go-to SEO Checklist
If you’ve been in the small business world for a while, whether you DIYed your own website, got one professionally built, or are still in the planning stages, you’ve likely heard of the term “SEO” floating around.
SEO, aka Search Engine Optimization, refers to how well your website will rank on a search engine like Google. Obviously, you want to be ranking as high as possible in the search results, because, let’s face it, how often do you just end up clicking on the very first result that Google spits out, let alone scroll past to page 2!
The top page results and highest ranking sites get the most traffic, and more eyes means more leads and more conversions, which is what every business should be aiming for!
While search engine algorithms do work in some mysterious ways and there is no one set SEO way to get to #1, there are a few ways that you can optimize your Squarespace site to significantly improve your chances of getting there.
So if SEO sounds like a jumble of confusion to you, or if you’ve never really paid much attention to it before, this week, we’ve put together a fool-proof SEO checklist to help your Squarespace site rise to the top!
Let’s dive in!

Squarespace and SEO
You might have heard of a pesky rumour floating around the interwebs that Squarespace is not so good for SEO. This is perhaps the most common argument against using Squarespace for building your website, and it’s easy to be swayed when SEO appears to be such a crucial element to a small business’ online visibility.
👉 How to choose the best DIY website builder for your business
It is perhaps true that Squarespace may not be the absolute best platform out there if you want to implement a very complex SEO strategy for your website, because the underlying CSS and JavaScript codes (the parts that make editing Squarespace sites super easy for users like you and I) can't be edited.
However, Squarespace does have some great SEO features built right in which make improving your site’s SEO incredibly easy (especially compared to other popular DIY website builders which leave a lot to be desired!).
This is especially great for small business owners like yourself who may not quite feel like they’ve got the time or brain power to spent hours learning and implementing SEO strategies (literally, people work as SEO strategists full-time)!
Squarespace does do an amazing job at making SEO accessible for everyone and here are just some of the ways that it has been designed with SEO in mind:
Automatic sitemaps
Squarespace creates and updates a sitemap for your site automatically. Sitemaps are important for SEO because they tell search engines about how your site is organized, making it easier for them to read or "crawl" your site's content and index it appropriately.
Automatic tags and clean HTML markups
This is a techy one that you don't need to worry about but good to know is being taken care of regardless!
Basically, the backend of Squarespace is structured as a giant code and any changes that you make on your site, like adding a site title, heading, link, or image, is automatically denoted in that code with "tags" (for example if you add a heading 1, this will be denoted as <h1> on the backend of your site).
Search engines "read" this code, and the cleaner and easier this code is, the happier this makes Google, and the higher you will be able to rank!
Clean URLs
All of the pages on your Squarespace site have static URLs that you can freely customize to include keywords that describe the page's content (more on how to do that below). This allows search engines to easily know what your page is about, making it easier for them to index and rank.
SSL security
All Squarespace sites are automatically protected with free SSL certificates which encrypt data and safeguard your site visitors' information. This ensures Squarespace sites are secure, something that search engines greatly value and give higher rankings for.
Mobile responsiveness
Squarespace automatically adapts all sites for different screen sizes, including mobile view. This is important because search engines favor mobile-friendly sites!
Even better, with Squarespace's new Fluid Engine editor, you can actually customize the mobile version of your website almost entirely independently to the desktop version, meaning that you can make your site even better suited for mobile.
Google Search Console Integration
Squarespace sites integrate seamlessly with Google Search Console, an app which helps you manage and track your site's rank and performance on Google. By integrating with Google Search Console, Google will be able to "see" any changes that you make to your site quicker, meaning that it will also be able to index and rank your site more accurately.
Built-in SEO description fields
Just about all pages on your site will have SEO description fields in their settings. While you can add a custom, optimized description (recommended!), Squarespace will automatically pull from your page's content if you don't add one.
With all that said, there are a few more things that you can quickly and easily implement on your Squarespace site to help boost your SEO!

How to boost your Squarespace website’s SEO: The Ultimate Squarespace SEO Checklist
Add your Site Title
This is such a simple step that you have likely already implemented when first setting up your site, but a very important one nonetheless, even if you’ve added a custom logo to your site!
Squarespace 7.1
To add a site title, go to your Squarespace 7.1 site and click Edit in the top left corner.
Hover over your website’s header and click Edit Site Header.
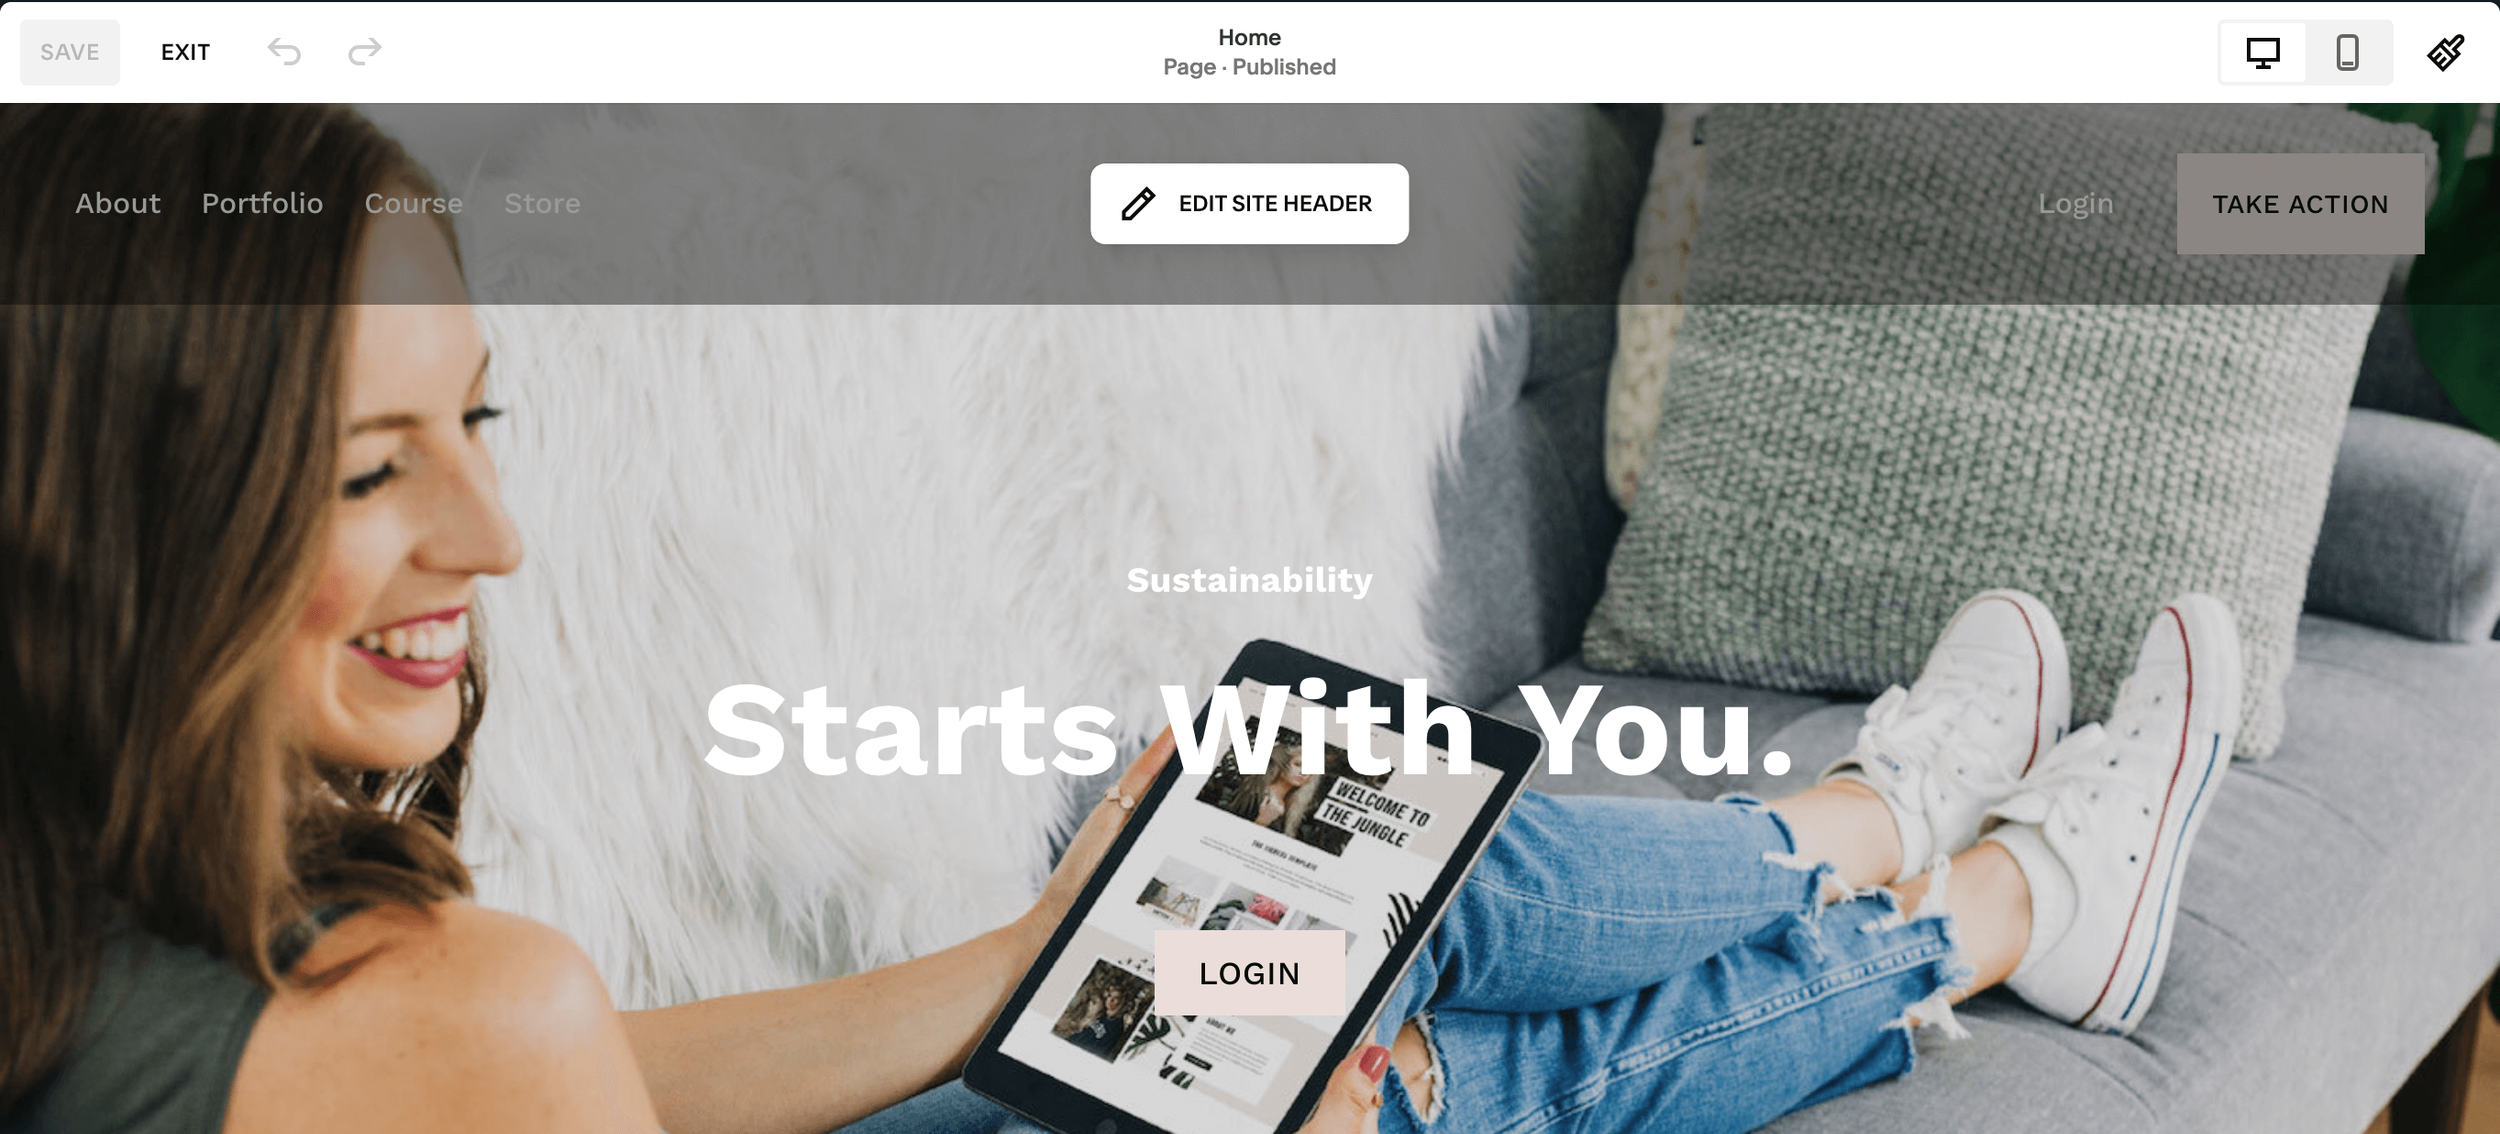
Next, click on your title or logo and click the pencil icon that appears to access your Site Title & Logo settings.

Here, you’ll be able to add or customise your site title.

Squarespace 7.0
If you are using Squarespace 7.0, hover over your site title or logo and click Edit.

You'll then be able to add your site title and logo in the left hand sidebar.

While your site title won't show on your website itself if you have a logo uploaded, it is still important to add a site title as it will still show up for search engines, improving your SEO, brand recognition, and how professional your site looks in one swoop!
Add your SEO title
Adding your SEO title is crucial because this is typically the very first thing that potential site visitors, as well as search engines, see when coming across your site.
It appears both in search engine results, as well as at the top of browser tabs, making it a key element for brand recognition and identification, as well as SEO.


To add your SEO title, go to Settings > Marketing > SEO Appearance, then on the Home tab, scroll down to the SEO Title Format field.

By default, the SEO title format will have '%s' in it, indicating that the SEO title will be the same as your site title that you entered in the previous step.
You can however have a different site title and SEO title. For example, your site title could simply be your business name (eg. Big Cat Creative), while you might want to add some extra salient keywords to your SEO title to help search engines identify what your site and business is all about (eg. Big Cat Creative - Squarespace Templates)
Tip! Squarespace does frequently change where different settings are located. If you can't find a particular setting, hit the slash '/' key on your keyboard to bring up a search bar and type in what you're looking for!
Add your Site Description
Just like adding your SEO title, adding a site description is a key element to improving your rankings.
Your site description should include a brief description of what you and your business are about, as well as keywords that you would like to be known for. Search engines will use this description to index your site so it's important to include relevant keywords (but keep it natural and avoid keyword stuffing!).

If you're feeling stuck, think about what someone trying to find your business might search for on Google. Remember to include how you can help them solve their problem as this will improve the chances of site visitors actually clicking and wanting to learn more!
Your site description should be engaging, relevant, and easy to read.
Remember to keep it short! Your site description should be a maximum of 300 characters.
To add a site description, go to Settings > Marketing > SEO Appearance, then on the Home tab, scroll down to the SEO Site Description field.

Add Page Descriptions
Just like your site description, you'll want to add a specific SEO optimized description for each page on your website.
SEO meta descriptions are essentially short summaries of what each page is about, meaning that this is a great place to include keywords that will help search engines know what to rank your page for.
Remember, each page on your website should have its own unique meta description. This will help search engines differentiate the content on your site.
Given that the page meta description will show in Google search results, you also want to make sure that it is engaging, encouraging site visitors to click through to your site!
To add a meta description to a page on your site, click on the cog icon next to the page name in the left hand sidebar, then select Settings.
In the pop up, go to the SEO tab. Here you'll be able to add a custom SEO title and description.

👉 Learn how to add SEO descriptions to your blog posts and shop items here
Add your Business Information
Adding your business information to your site will give search engines important clues about you and your business, who you are and what you do.
This is especially important if you are a business with a physical location and opening hours as Google will be able to index all of this information directly from your site.
To update your business information, go to Settings > Selling > Business Information and add in as much detail as you can.

Secure your Site
Google prioritizes websites that are safe. If visitors got hacked or scammed every time they visited a site that Google recommended, no one would trust the platform! It’s all about best-practices, and safety is a huge one.
Luckily, Squarespace makes keeping your website secure extra easy with its extensive built-in security features, it’s one of the top reasons why we recommend Squarespace for small businesses!
One of these security features is SSL which makes sure the connection between your browser and your website is secure.
To check that your SSL is enabled on your site, head to Settings > Developer Tools > SSL and make sure the first two boxes are checked.

Connect your Social Media Accounts
Connecting social media to your website can be great for SEO. Not only does it boost your visibility by allowing more people to find your content and follow you, search engines actually take note of how your social media accounts relate to your site, improving indexing, and therefore ranking!
Squarespace makes this really easy with great integrations with all the popular social media platforms like Instagram, Facebook, and Pinterest.
Social Links
In your website, go to Settings > Website > Social Links

Click on Add a Social Link and type in your social media account link.
For example:
instagram.com/yourusername
facebook.com/yourusername
pinterest.com/yourusername
You can also add your email address if you like!

Now, you'll be able to add a social links block anywhere on any page of your site, and the social links you connected will display as individual icons.


Connected accounts
Another way to connect your social media accounts to your site is by going to Settings > Third Party Tools > Connected Accounts.

Click Connect Account and follow the prompts to login and connect the social media account of your choice.
You'll now be able to use the Instagram Integrations block anywhere on your site and Squarespace will automatically pull in your Instagram feed.


👉 How to create a full width Instagram feed in Squarespace 7.1
Optimize your Images
While it’s very easy to be tempted to just upload any image to your site willy nilly, making sure that your images are fully optimized before you upload them will be sure to help you rise the ranks!
👉 Read our full post on optimizing images for your website here
Compress your images
Ensuring that your images are compressed before uploading them is so important to help your site load faster, and fast sites get brownie points from Google!
We recommend running all of your images through a compressor like compressjpg.com or tinypng.com. You should aim for a maximum of 250KB per image or 500KB for larger images like banners or backgrounds.
We also recommend largely using JPGs as this image type has the ability to compress more than PNGs. You should only use PNGs when you really need to, like for images with transparent elements.
Remember to compress all of your images, including any graphics that you created on Canva for example.
Rename your images
It’s also important that all of your images are named appropriately before you upload them to your site as this will help search engines know what your image is about thereby increasing your chances of ranking.
Here are some naming best practices:
Keep it short but descriptive with a maximum of 5 words
Separate words with hyphens "-" for increased readability
Include your business name
Include a brief description of the image content and/or the page the image will be uploaded to (eg. about us)
Add keywords (but avoid keyword stuffing) about what you do or what your business is about (eg. website design)
Avoid generic names, like IMG12345.jpg or image1.jpg
Add alt text
Once you've uploaded an image to your site, double click on the image block to access its settings, then scroll down to image alt text. Here, you should add a brief description of your image.

Not only will this increase your site’s accessibility for any visitors using assistive screen readers, alt text will also help search engines better identify and classify the content on your website, helping your rankings.
Alt text tips:
Describe the image, and be specific
Add context (about the page, the topic, what it's all about)
Don't start with "picture of...", get straight into it!
Add keywords, but avoid cramming them in!
Max 125 characters
Check and Optimize your URL Slugs
Even your URLs can provide Google with important information about your site! Given that each page on your site will have a unique URL, this is the perfect opportunity to let search engines know what each page is about.
While Squarespace will automatically use the page name as a default URL (and that might be enough!), here are some tips to optimize your URLs to their full SEO potential:
Keep it short! Between 4 and 6 words at most
Keep it relevant! Include keywords and words describing what the page is about
Keep it simple! Make sure it is easy to read and understand

👉 Read our full post on how to optimize URL slugs
If you change the URL of an existing page on your site, remember to set up a URL redirect to avoid broken links (aka SEO killers!).
Check for Broken Links
Broken links are links on your website that don't work anymore. They can happen for many reasons, like if you change the URL of a page, if you delete a page from your site entirely, or if there's a typo.
Broken links are a big no-no for search engines because they negatively affect your site visitors' experience. Put yourself in their shoes, landing on a broken link is pretty frustrating! They will likely leave your site as a result, and Google might view your site as lower quality and decrease your ranking.
The good news is, broken links are an easy fix!
First things first, check if you have any broken links on your site using an extension like Check My Links for Google Chrome.
If you find any broken links check them for typos, or set up a URL redirect!
A URL redirect basically forwards site visitors from an inactive link to a new link, and let's search engines know that this page has moved. Search engines will then transfer the original page's rank to the new page, keeping your SEO intact, win-win!
To set up a URL redirect, go to Settings > Developer Tools > URL Mappings.

Click into the box and add your old URL (aka the broken link), followed by the forwarding command - > and the new URL that you would like to redirect site visitors to, followed by 301 (indicating the type of redirect).
/old-url-here -> /new-url-here 301
Click Save in the top right corner and you're done!

👉 Read the full post on how to set up URL redirects on your site
Set up a Custom 404 "Not Found" Page
When someone lands on a broken link, they will automatically be sent to your site's default 404 error page. But did you know that you can actually create a custom 404 page that will work for you to retain visitors and improve SEO?
By adding engaging elements like links to other pages on your site, a search bar, a contact form, and an eye-catching heading, your custom 404 page will greatly improve your site visitors' experience of your site, keeping them engaged for longer and more likely to keep browsing along.
Given that they will be less likely to leave your site immediately, this will greatly reduce bounce rates, showing Google and other search engines that visitors are staying on your site longer and improving your rankings.
To create a custom 404 page, add a new page to the Not Linked pages section of your site, customize it as you please, then scroll to the bottom of your pages panel and go to System Pages > 404 Page.

Here, click on the dropdown and select the page that you would like to assign as your new custom 404 page.

👉 Read the full post about how & why you should create a custom 404 page for your Squarespace site
Want a professionally designed 404 page to keep your site visitors browsing and on your site?
Check out our 404 page templates available in Build-Your-Own-Template! These can be added to any existing Squarespace 7.1 site with a small installation fee👇


Hide Index Page sections from SEO (Squarespace 7.0)
Note! If you’re using Squarespace 7.1, this tip isn’t for you, so you can skip this! Similarly, if you are using Squarespace 7.0 but aren’t using index pages in your design, then you don’t have to worry about this either!
Index pages, a special feature of Squarespace 7.0, allow you to essentially stack multiple individual pages on top of one another to create one long super page (not the official term!).
But because each individual page stacked inside the index page is also a regular page, Google can index it as a stand alone page. This isn't ideal, because this will mean that someone might accidentally stumble on one of these individual index sections in a Google search and landing on just one of these sections without the context of the rest of the sections might be pretty confusing and not particularly informational, something which is both bad in your site visitors' and also Google's books.
Squarespace recommends that if you are using Index pages on Squarespace 7.0, you should hide these individual page sections from SEO, to make sure that only the long index page is indexed by Google, and not the individual sections.
To turn off SEO on individual index page sections:
Go to your Pages panel and find your Index Page
Click on the cog icon next to your page SECTIONS (NOT the entire index page, just the page sections within it).
Click on SEO in the pop up
Then hide page from SEO - turn this on to hide the page section from Google
Do this with all of your sections
Make sure to leave the whole index page ON for SEO, so that only the entire page as one will be indexed
Connect with Google Search Console
Google Search Console is a powerful free SEO tool that let's you track and monitor how your website is performing in search results. It also allows Google to "crawl" your website more frequently and accurately, helping it index any changes you make to your website sooner and is a great way to see if your SEO efforts are making a difference.
While you don't necessarily have to connect your site with Google Search Console, its integration with Squarespace is pretty smooth and it only takes a few minutes to set up, so you might as well! Here's how to do it 👇
On your site, go to Analytics > Search Keywords > Connect and follow the prompts to connect your account. Note! You will need to have a Google account to set this up.

Once you've connected your account, it can take up to 72 hours for your search data to start populating in Squarespace. Once it does, come back to the Search Keywords tab to see what people are searching for to find your site and other useful data like how many people are clicking through to your site and how your site ranks on Google.
If you haven't set your site live yet, it's important to note that you won't be able to see any accurate data until you do. After you publish, it may also take a bit of time for your site to start ranking and for you to see results, so while Google Search Console may not be something that you use right away, the earlier you connect it, the better data you will have in the future, so it's worth doing!
👉 Learn more about Google Search Console here
If you'd like even more data about your site's performance, you can also connect your Squarespace site with Google Analytics.
Work on your website content
Content is by far the biggest driver and factor for improving your SEO.
When you add content to your site, anything from adding more text to a page, adding an image description or writing a blog post, you're adding keywords, and keywords are crucial in letting Google know what you're all about and helping you rank higher in relevant search results.
By creating fresh and useful content with weekly blog posts, you're also showing Google that your site is active andvaluable, positioning yourself as an expert, building community, and driving engagement. All this will in turn give you greater exposure and higher rankings as Google will be able to see that people are interested in the content on your site!
👉 How to start a blog with Squarespace
👉 The ultimate blog post SEO checklist
Use SEOSpace
To make this whole SEO thing even easier for your site, the SEOSpace plugin for Squarespace is an amazing tool!
Not only does it conduct SEO audits for any page on your site, giving you a detailed breakdown of everything that you can do to improve your SEO rankings, it's super user-friendly, comes with jargon-free SEO training, and will save you a ton of time figuring out how to do it all yourself.
It's truly a one-stop-shop to give your SEO a boost and makes improving your Squarespace site's SEO just that much more accessible. Every scan that you run on your site will generate an SEO score indicating how well you are ranking currently, as well as an interactive SEO checklist giving you suggestions on specific items to improve from meta descriptions, to heading structure, how well your images and URLs are optimized, and whether you have any broken links.
From there, you can make some updates, run the scan again, and see your SEO score and rankings improve!
Pricing
SEOSpace does offer a free plan which includes basic audits of any live page on your Squarespace site, and most importantly access to all of the SEO trainings (it's worth signing up just for that if nothing else!).
From there, you can upgrade to the paid plans ranging from $14.99/mo for DIYers to $99.99/mo for Agencies to access more advanced features like increased scanning abilities, automatic SEO monitoring, and keyword specific audits.

👉 See what's included in the different SEOSpace plans
How to get started with SEOSpace?
To get started, install the plugin into your Google Chrome browser.

Follow the prompts to create your free SEOSpace account.
You'll then be taken to the dashboard, where you'll find SEO tutorials, access the community discussion board, and any previous scans.
To conduct a new SEO scan, head to the page that you would like to scan on your site, activate the plugin, then click on Run Scan.

That's it! In just a couple of minutes, SEOSpace will generate your very own SEO checklist.


Click the dropdown next to each element to reveal more information and follow the recommendations!

That's it! You've successfully optimized your website's SEO and it should now be well on its way to its best rank yet! 👏
Want more SEO tips? Check out these posts 👇
3 free tools to research keywords and boost your SEO
Does using one of your Squarespace Templates affect my SEO?
The ultimate blog post SEO pre-publish checklist (for Squarespace)
How to optimize your Squarespace blog posts for SEO
5 quick & easy SEO tricks for Squarespace to implement now
If you liked this post, Pin it to Pinterest! 👇🏻
