

How to add a Background Color to a Text Block in Squarespace
One of the most common questions we get about designing in Squarespace is if there is a way to add a text block with a colored background.
Seems simple enough, right?
With the introduction of Squarespace 7.1's Fluid Engine editor last year, we now have a few ways to easily do this! Unfortunately, if you're using Squarespace 7.0, there is no built-in solution or block for this, but don't worry, we'll walk you through how to achieve this effect in both versions of Squarespace to cover all bases.
I will note that if you are looking to put a colored background behind a block of text in Squarespace 7.0, the solutions do involve some CSS code. If you’re new to CSS code, then just know that this is about as basic as it gets, so don’t be afraid of it!
Let’s get started!
Here is an example of text with a background color!
This helps the text stand out and is great if you have a busy background image!
And there are a few different ways you can do it. Today I'm going to show you two ways, both involving some basic code. So let's get started!
Squarespace 7.1

1. Adding a background color to a text block
The first way to add a colored background to text is by enabling the new background feature. We love this feature because it is essentially just a toggle switch (aka super easy!). Plus Squarespace provides a few options to customize it without the need for any custom code!
Note: This feature is available to implement in sections that use Classic Editor or Fluid Engine.
Step 1 : Create a text block
The first thing you'll want to do is create or navigate over to the text block you want to add a background color to.
Step 2 : Edit the text block
To add the background color, you'll need to open the settings of the text block. To do so, take the following steps:
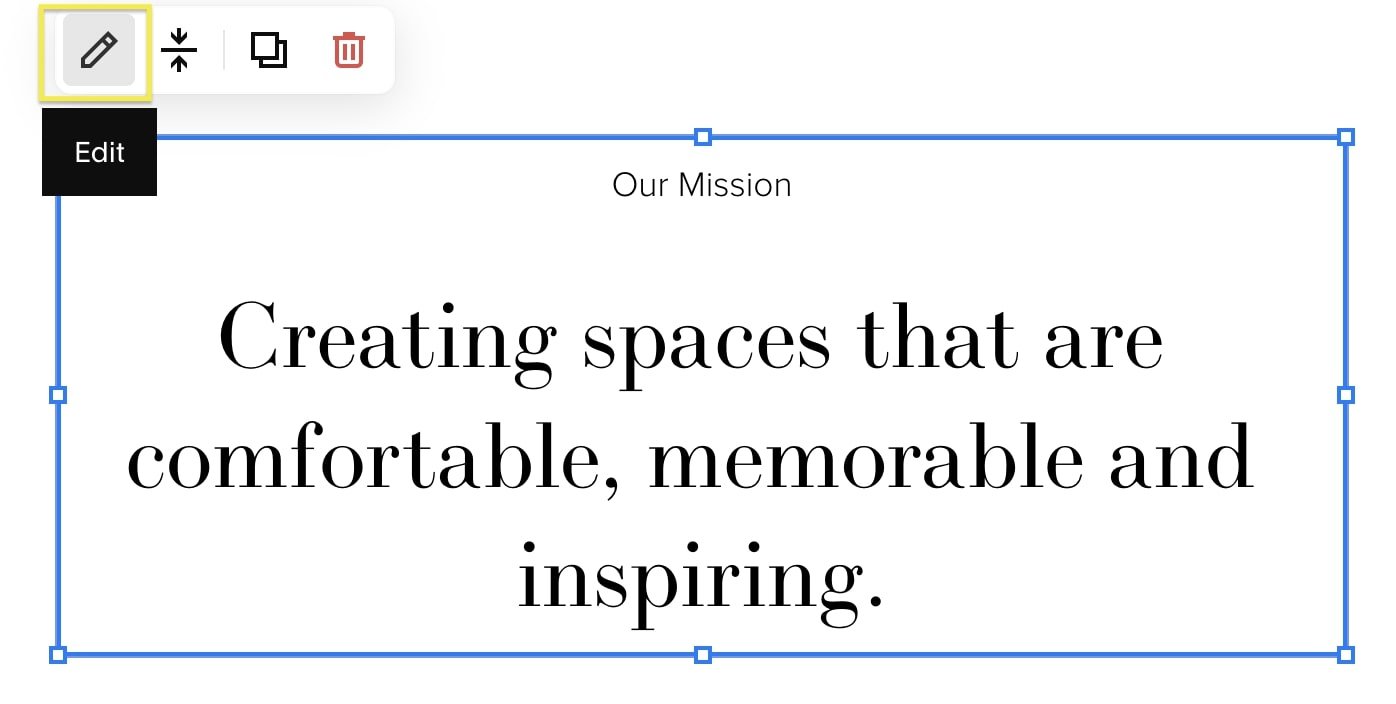
Click Edit in the top left corner of your window.
Click on the text block you want to add a background to.
A small menu should appear, where you will click on the Edit (pencil) icon.
The text block design menu will appear. Toggle the Background effect on. Once you do so, you'll be able to customize the background further by playing with the size and padding of the background.

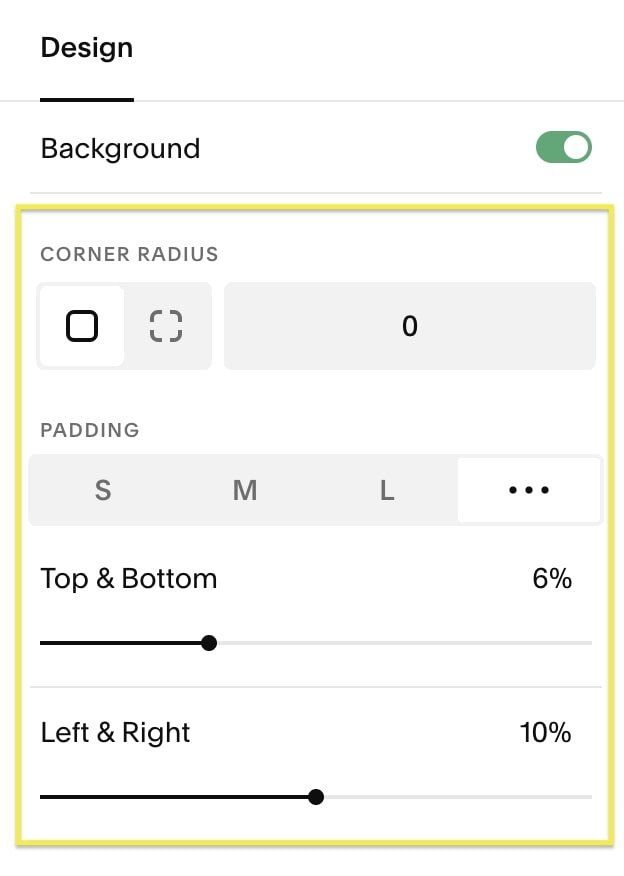
You probably noticed that Squarespace didn't provide the option to change the color of the background. This is because it's controlled in Site Styles.
If you'd like to change the default theme color, let's walk through how to change that:
In the main site navigation menu, go to Design > Site Styles > Colors
Choose the color theme that matches the particular section you're working on. For example, the section of our text block has the Lightest 1 theme, so we'll choose to edit the Lightest 1 theme.


Once you've clicked into the corresponding color theme based on your website, click on the text box you're targeting to bring those settings to the top of the list on the right. If that doesn't work, scroll down until you see the section titled Text. Underneath it, you should see Background Color.

Based on our site, the background color is light grey, but yours will likely appear different. Click on the circle to open up the color style menu. Here, you can assign a different color from your website color palette, or if you toggle over to Custom you can select a completely different color!

Once you've found a color you like, remember to hit Done > Save in the top left corner of your screen to make sure your new website color settings are applied.
That's it!

2. Using the highlight effect to add a background to text
Text highlights are another way that you can add a colorful background to text in Squarespace 7.1. This option is available whether you're using Squarespace's Classic Editor or Fluid Engine sections.
Let's walk through how to add a background via text highlights!
Step 1: Selecting text highlights feature


More recently Squarespace launched a few other built-in features on 7.1 (both Fluid Engine and Classic Editor), and one of them is adding a highlight on text. This adds a little emphasis to your text. Prior to the release of this option, something like this would require a fair amount of code so we're excited about this one!
First things first, add a text block to your website.
Double-click the text itself to open up the text toolbar
In the popup design menu, choose the Highlight icon to select a text highlight option.
Step 2: Customize the text highlight
That's not where the fun ends! You can customize each highlight option with the following:
Color: Select a color from your website palette or a custom color.
Thickness: Using the slider you can adjust the thickness of the highlight effect
End Caps: Choose from either a square or round shape for the ends of the highlight
Bring to Front: Toggle this feature on to bring the highlight style you've chosen in front of the text.
Animation: If you turn animations on, you have three choices: Draw, Fade, or Fade and Scale.
3. Using the shape block to create a background
If you want to add a colored background to a few elements - say a block of text and a button - this is the way to go!
In this method, we'll be using a Shape block as the background, but these are only supported in Squarespace's Fluid Engine on version 7.1 sites. If you're using a Classic Editor section in Squarespace 7.1, you'll need to upgrade the section to Fluid Engine to use this tutorial.
Step 1 : Add the shape block
In your Fluid Engine section, click the Add a Block button and from there scroll or search for the Shape block.

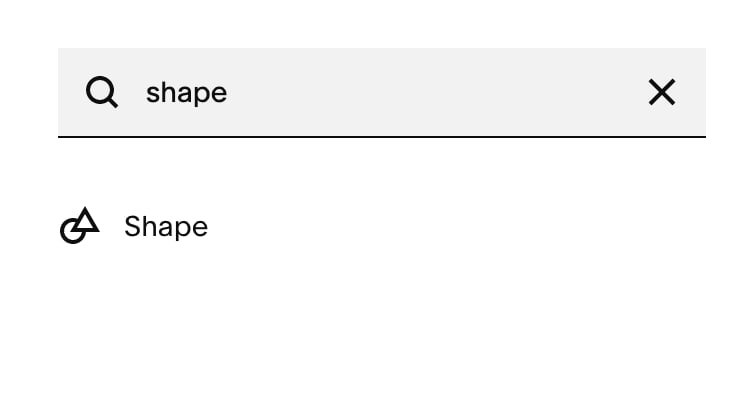
Once you add a Shape block you'll see a color-filled rectangle appear in that website section.
Click and drag the Shape block to size it and place it accordingly on your website.
TIP: If you want to move the Shape block behind other elements, like text, click on the Shape block and then choose the Move Backward option. If there are multiple elements, you might have to click the Move Backward button a few times to make sure the Shape block is the bottom layer.

If you like how it looks you can stop right here!
If you would like to play around with a different look and feel, follow along with us in the next step as we walk you through the customization options in Squarespace!
Step 2 : Customize the shape block
Click on the Shape block
When you see the settings menu appear, click on the Edit (pencil) icon

The design setting menu will pop up and you'll find you have a few options to play around with here:
Shape: You can change the standard rectangle shape to something a bit more fun if that fits with your website! Squarespace provides 25+ shape options to choose from.
Border Radius: Tweak the border radius of the shape to create softer corners on your shape.
Stretch: Toggle the stretch feature on and off to stretch the background color to fit the bounds of your shape block (or not if it's turned off!)
Color: Change the color of the shape easily by clicking on this and selecting any color you'd like!
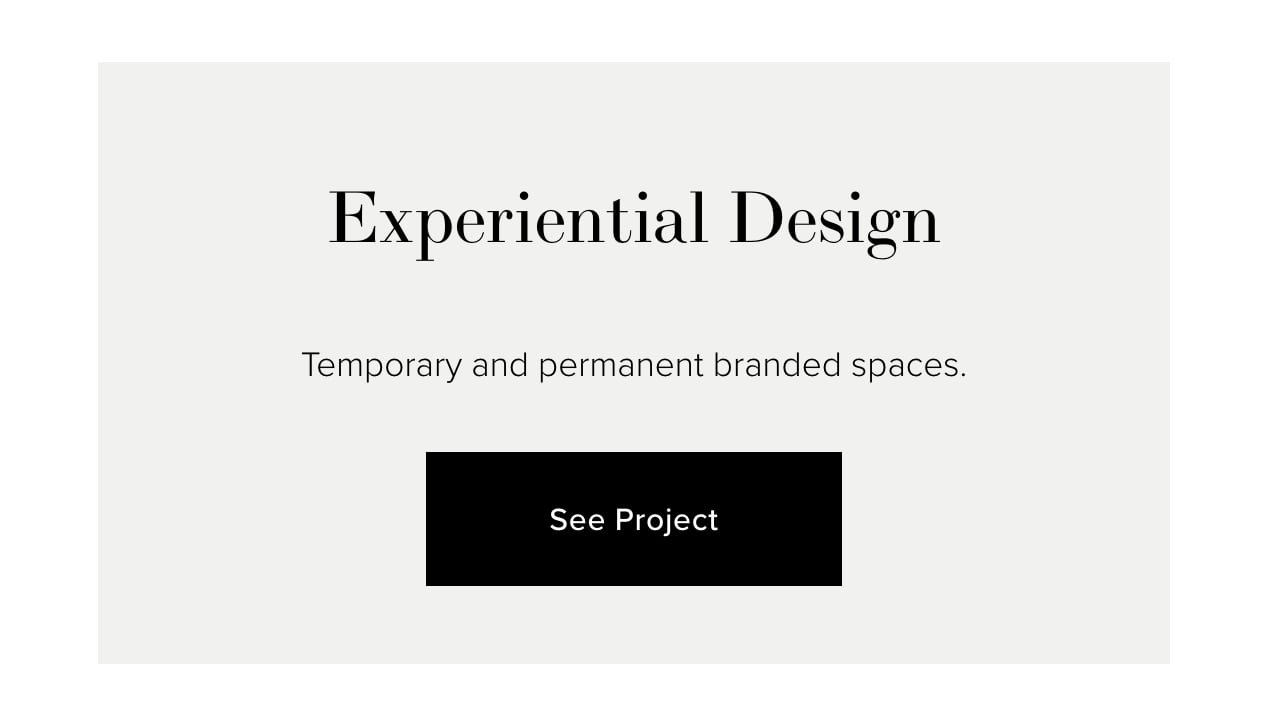
Drop Shadow: Toggle the drop shadow feature on to add a drop shadow feature to your shape block. If you flip this feature on, you'll get access to a few more customization options for the drop shadow including angle, distance, blur, and color.
Here is an example of a rectangular shape block with a drop shadow.
Squarespace 7.0

1. Using a block identifier and adding basic CSS
We recommend this method for most instances. We use the universal CSS editor which is available to everyone on a personal plan. Also, adding your CSS in one area, rather than throughout the site in different areas (as the other method below) is better overall for SEO.
Step 1 : Identify your block
Each Block on your site has a different identification number. Once you have the identification number of a certain block, you can easily make CSS changes to it over in the Squarespace CSS Editor.
The easiest way to find the block number:
If you’re using Google Chrome, download this Squarespace Block Identifier extension for Chrome. This extension is designed to help you find the Block Identification Number of each Block on your Squarespace Site.
Open up the page with the block you want to identify, click on the Identifier Tool in your Chrome Extensions and it will instantly reveal the Block Identification Numbers (which will be something like #block-53c818fd6d3f39517aed or #block-yui_3_17_2_1_1556302617094_72323)
Click on the Block you want to use and it will automatically copy the Block number for you!
If you don't use Google Chrome:
Firstly, we recommend downloading it even if it’s just to use this extension, it will save you a bunch of time. Squarespace also recommends you use Google Chrome for the best experience when you’re editing in Squarespace anyway, so it’s a win-win.
Otherwise, you can right-click on the block and then click Inspect. Somewhere in the code for that certain object it will say ID=block etc. Though, there are a lot of “ID’s”, so make sure you look for the correct one, it needs to start with block.
TIP: Make sure the Block number starts with Block. If it starts with anything else, it’s not the correct ID.
Step 2 : Add your CSS
Once you have found the correct Block ID, make sure you have it copied. Then, head over to Design > Custom CSS.
TIP: I recommend having the page you’re planning to work on (with the said block) open while you are working on the CSS, because when you make the CSS changes you will be able to see them happening on the page.
Paste your Block ID into the CSS editor, and make sure it has a hash (#) at the beginning of it.
Use the following code to add a background to your text block:
#block-53c818fd6d3f39517aed
{
background: #f0f0f0;
padding: 50px;
text-align: center;
}
Just replace the Block Id (with the one that you copied/found earlier), the color hex code, the padding value and the text alignment value. You should be able to see the changes happening while you adjust this in your CSS editor. If you can’t, it’s likely that you have the Block ID wrong (or maybe you have altered the code, compare it to the code above to make sure you haven’t accidentally deleted or changed something)
Once you’re happy with how your CSS looks make sure to hit Save in the top left hand corner!
2. Using a code block and basic HTML
We would only recommend this in instances where the first method isn’t appropriate for some reason.
Step 1 : Add a code block
Just like you would add a text block, add a code block instead:
Step 2 : Add your code
Instead of just adding CSS styles to a Text Block like we did above, this time we’re actually going to add our text and our CSS styles within the Code Block, so everything is contained in the one block.
HERE is the code I used for the box at the top of this page:
<div class="grey">
<h2>Type your Heading 2 text in here</h2>
<h3>Type your Heading 3 text in here</h3>
<p>Type your Paragraph text in here</p>
</div>

<style>
.grey {
background: #f0f0f0;
padding: 50px;
text-align: center;
}
</style>
The code within the <div> tags is the HTML part. The <h2> <h3> and <p> tags indicate Heading 2, Heading 3 and Paragraph text. Type all your text within these tags. You can experiment with these to get the desired look you’re going for.
The code within the <style> tags is the CSS, and this is where you control your background color, padding and anything else you want to add, just like we did in the first method.
The key here is to make sure that div class matches up with the CSS class. For example <div class=”grey”> and the CSS class .grey
You can change this class name to whatever you want, as long as they are the same they will be linked together.
When you’ve pasted the code into the block, make sure to hit save on the Code Block and then save again on the page section.
And that’s it! Pretty simple, right?
Like we said above, learning some basic CSS opens up a whole world of new things you can do with Squarespace design, especially things that should be already included like basic background colors in text blocks!
We've tried to keep this guide as straightforward and as copy + paste-able as possible when code was needed. We hope that you found it helpful!
If you want to check out some more fun things you can do with a little copy + paste code, check-out the blog posts below! 👇
6 fun code snippets for your Squarespace web design
How to upload custom fonts to Squarespace
How to change the font color in one text block on Squarespace
How to animate your links on hover in Squarespace 7.0 & 7.1
How to create a full width Instagram feed in Squarespace 7.1
Pin this to Pinterest!
